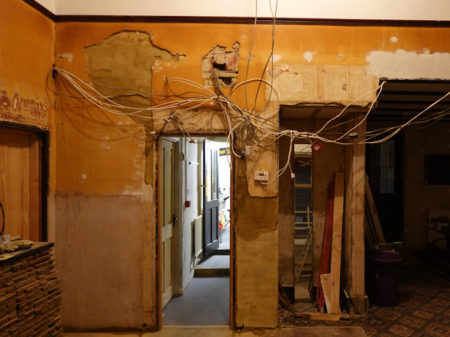
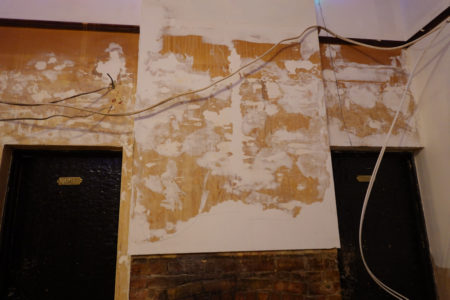
The walls are not in perfect condition. They were thoroughly mock tudored in the 1970s and removing the mock tudor resulted in a lot of damage. The lower 5 feet were wood panelled in the 1920s then plastered in the 1970s. The next few feet have textured paint, then the parts that were above the false ceiling have been knocked around by electricians and plumbers.
In the photo above the left of the doorway and to the right of the doorway is some basecoat plaster I’ve applied directly on brick. It will need a second coat to get a couple of millimetres shy of surface level when I’ll switch to the lime repair plaster.
The brick was really thirsty having been inside for 100 years. I could hold the sprayer in the same spot for some time and the water would be sucked in rather than run off. It’s best to pre-dampen bricks so the water isn’t sucked out from the new plaster before it makes it’s bond.
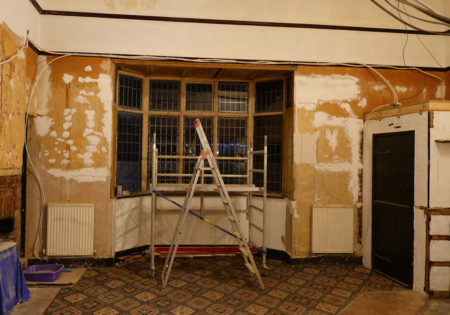
The other side of the room is a little further along. The larger holes have been repaired using the repair plaster. I shape the plaster using a steel rule which gets the level just below the surface. The final coat is a filler which has the advantage of being sandable.
The original plaster on those walls is still reasonable smooth and straight so there is a chance I’ll get away with filling the many holes people have made and then then just paint over. At worst I’ll need to use lining paper. I don’t think I’ll need to skim
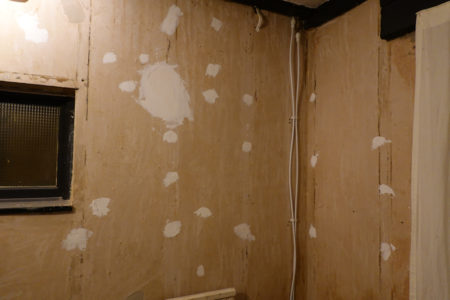
The dining area was re-plastered in the 1970s and has accumulated fewer holes – mostly just where the mock tudor was nailed on. I’ve found filling to just above the plaster level then a quick once over with a drywall sander is a really quick way to make the walls perfect.
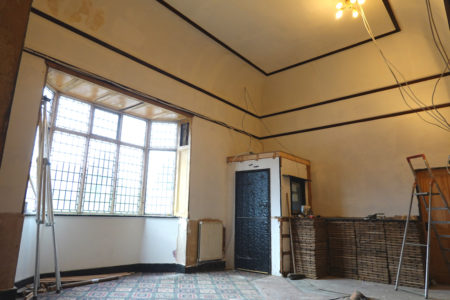
I finished filling a couple of walls and put the first coat of paint on to see how it would look. The repairs aren’t noticeable and the walls look flat.
I felt it took a long time to prepare the walls, but it was only 5 days ago that I painted the ceiling. I think it’s just boring, and a couple of weeks plugging on with it should have all the walls finished.
Not everything is finished. The textured paint came off with some effort with a paint scraper after softening using Zinsser BIN wallpaper stripper. The resulting surface looks worse than it it.
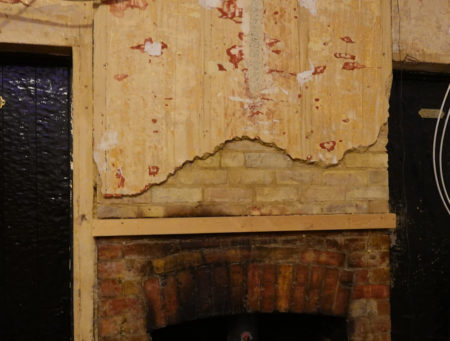
The last bits of loose plaster in the room have been knocked off the fireplace and the wooden former is in position to make an edge for the new plaster before I figure out what sort of trim or shelf I might eventually put in it’s place.
It’s a big area with more than one room and takes ages. I’ve been scatting around the place doing bits on everything because drying times. Here’s the chimney again after 2 coats base plaster, 2 coats repair plaster, then a bit of filler to tidy everything up.
At the time of edit I’m wondering if I can get it all finished and painted in time for my Christmas photo. Get the fire burning and lean nonchalantly on the mantle that isn’t there yet. One day left. Sure to happen but the paint might still be wet.
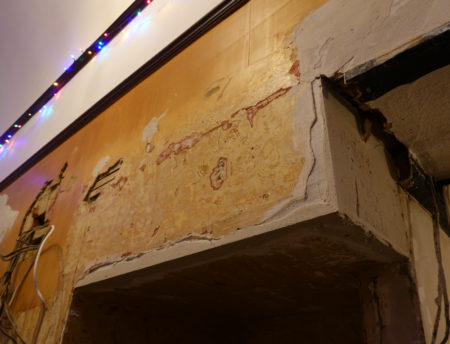
Bits of wood are excellent to use as corner formers. Removing mock tudor had pulled the corners off the weird box in the ceiling that hides the top of the stairs. A bit of thin ply marked with the line of the ceiling, cut to shape and screwed to the wall was fab for quickly forming the corner. The plaster pushed into the gaps also made the edges for the remaining plastering.
I doubt I’ll get all the walls painted for Christmas, but the lights are up!