Category Archives: Decorating

Finishing the snug

The floor in the ballroom will take ages to lay so I’ve moved onto the snug. I’m keen to get the snug finished before winter as it’s a small room that will have a wood burner and it’s going to be toasty in there.

There’s not much to do. The old consumer unit has been removed, the wallpaper behind stripped, and the big hole in the ceiling where the wires went repaired with lime and lath. The snug has had a fair bit of work already. The ancient ceiling is cracked and I’m adding a little filler before lining paper.
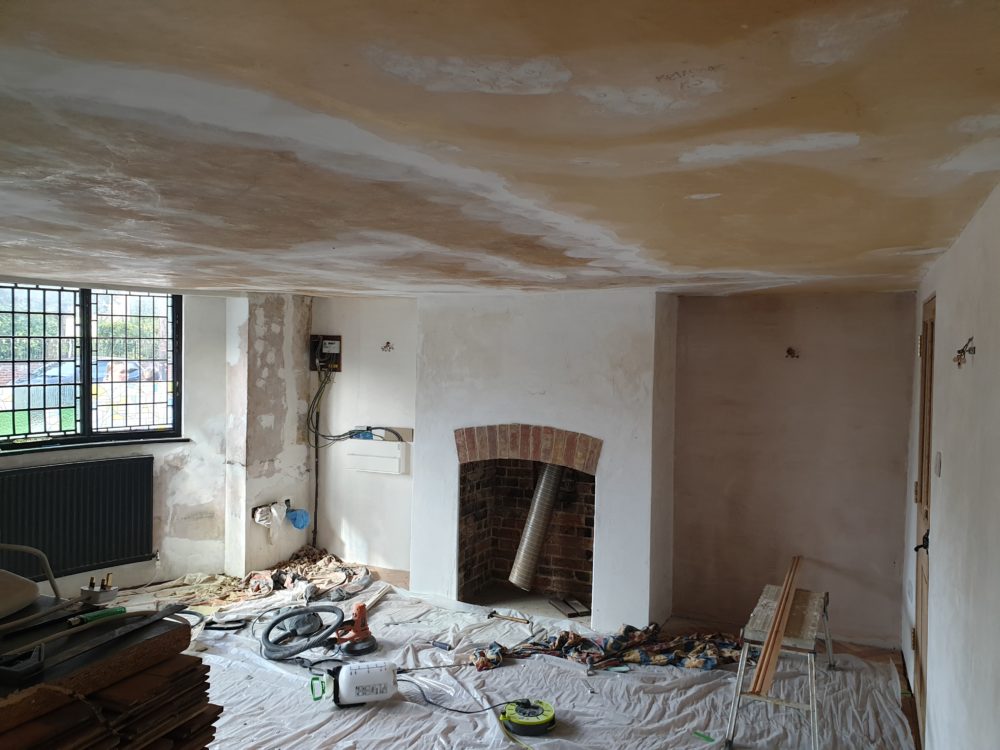
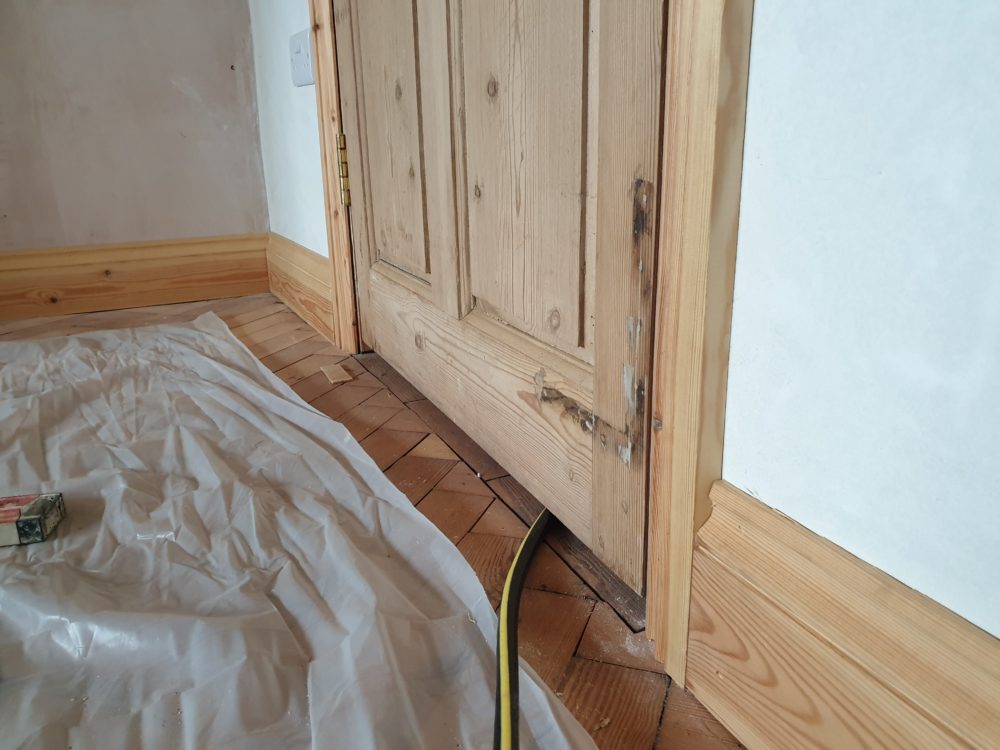
I’ve started fitting the architrave and skirting and it’s making the snug look much more like a room. The walls are nice and flat because they were skimmed.

The walls are wattle and daub and are no good for mechanical fixings so I’m fitting the skirting the modern way with grab adhesive. It seems to dry soft and chalky so the boards can be removed again without damaging the plaster too much.
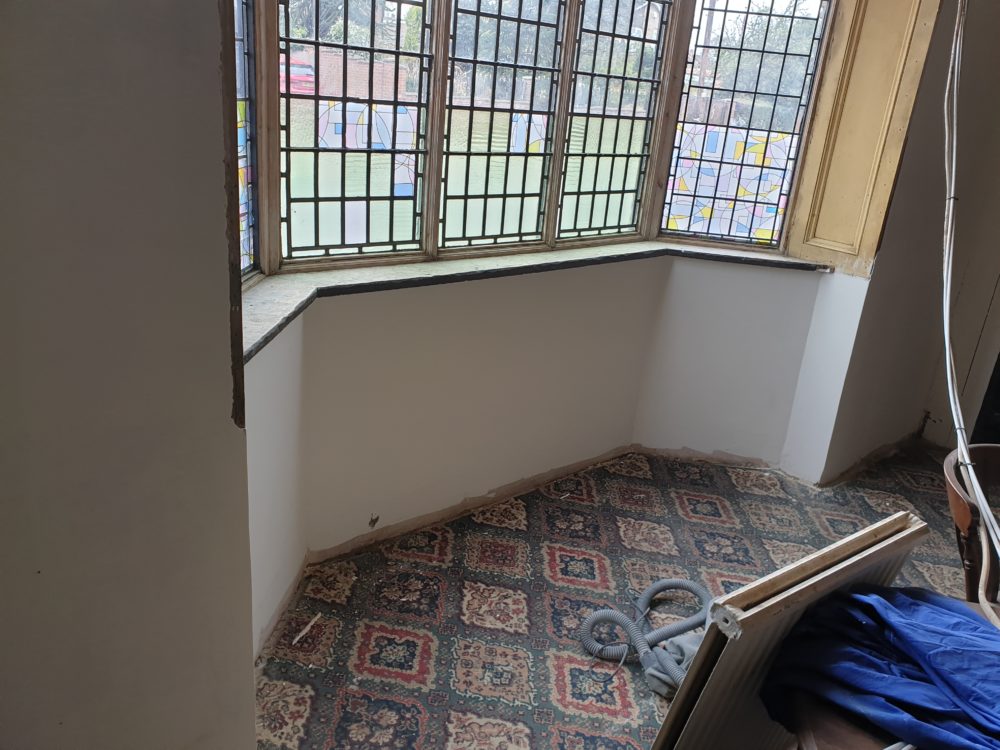
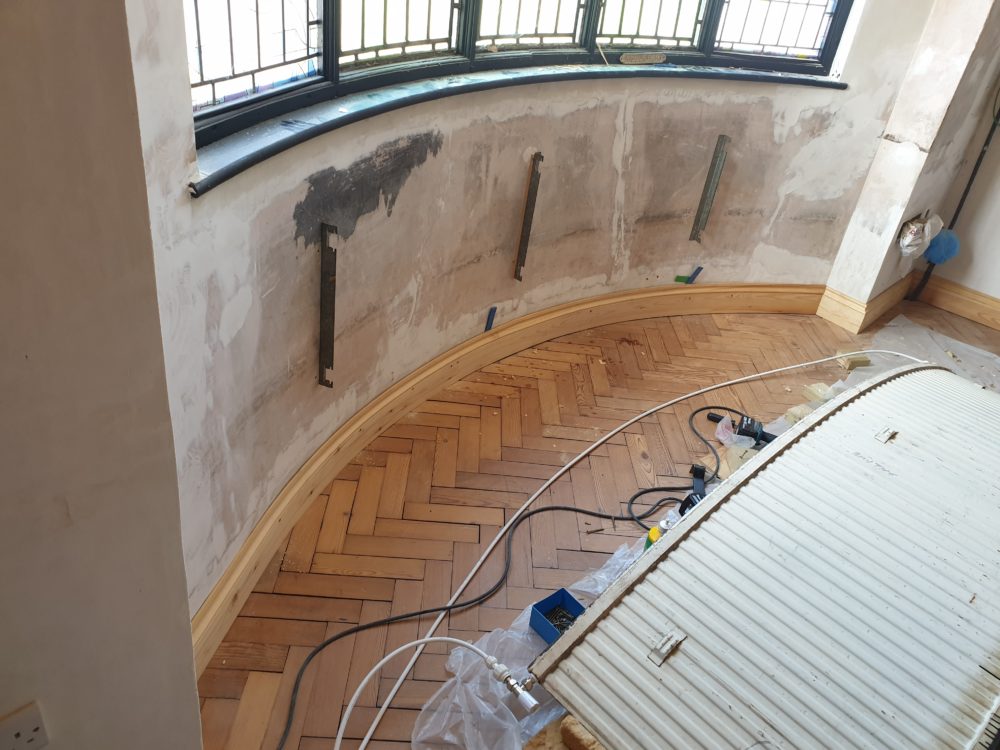
The skirting board in the curved bay was a pain. I cut deep slots on the rear spaced 1/2 inch apart to make the skirting easier to bend. It was very much a two person job to fit (I broke the skirting on my first attempt and had to prepare a second board). My neighbour came over to help press the board into position while I screwed it to the wall.

It almost worked but the moulding at the top split in three places. I’ve glued it back together and it should be OK with a little filler.
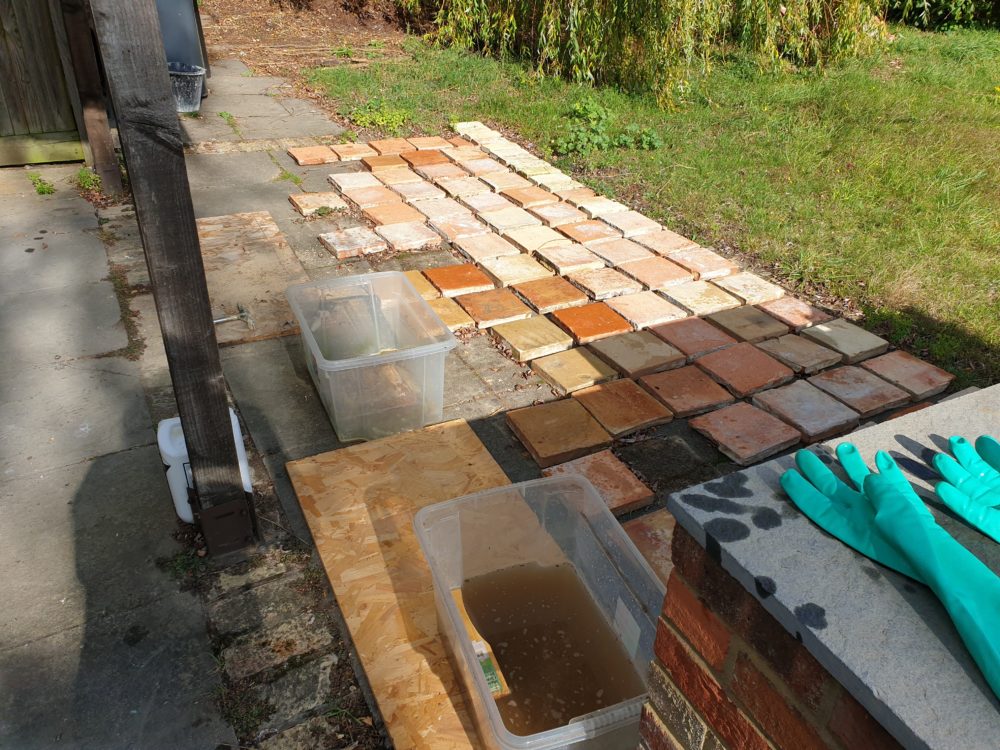
Outside I have a lot of reclaimed pamment tiles which have cement staining. The cement is coming off well with brick acid. I want to use the tiles in the snug hearth and in the ballroom cubby. Maybe also for some steps if there are enough good ones.

It’s a job I ought to have started some time ago as it’s easy to go and move a tile from the acid tub into the water tub every now and again while I’m doing something else. It’s less time efficient when the hearth is the next job on the list.
Photos before and after decoration

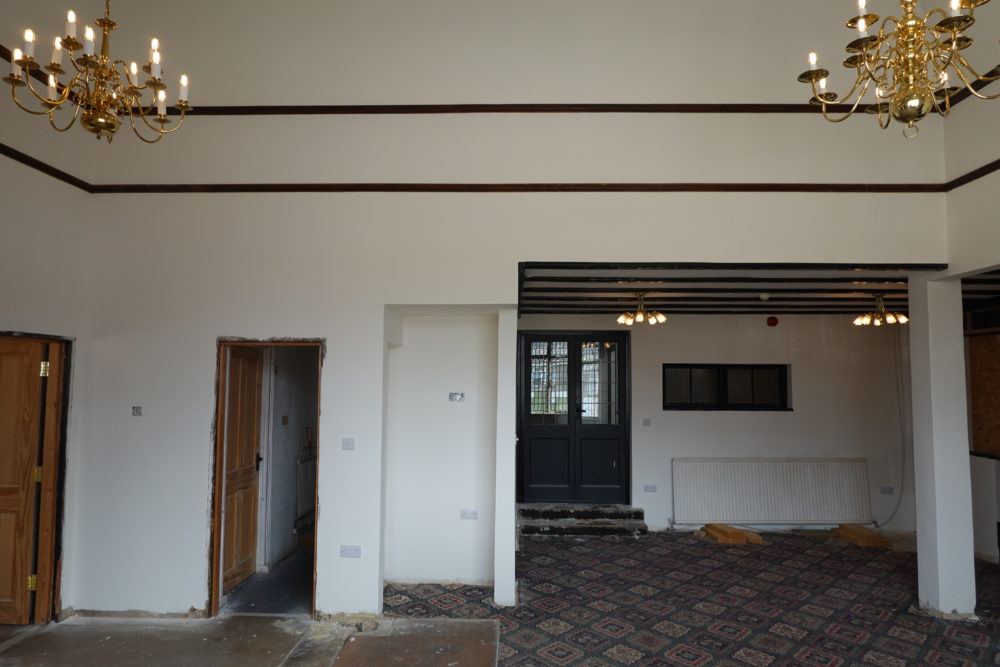
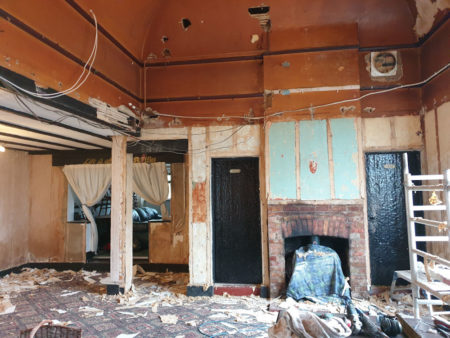
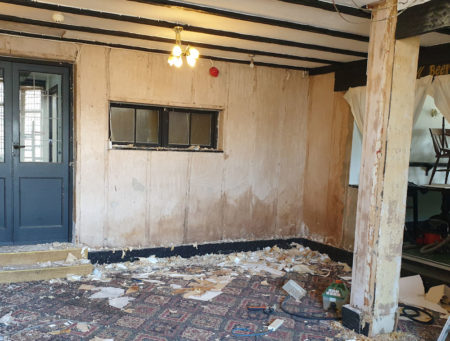
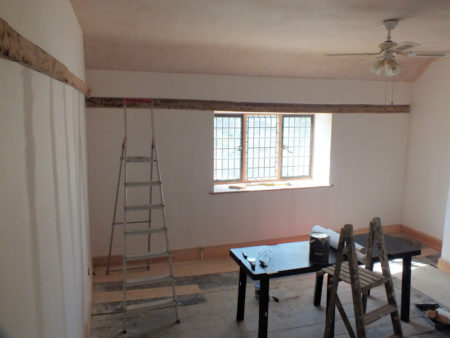
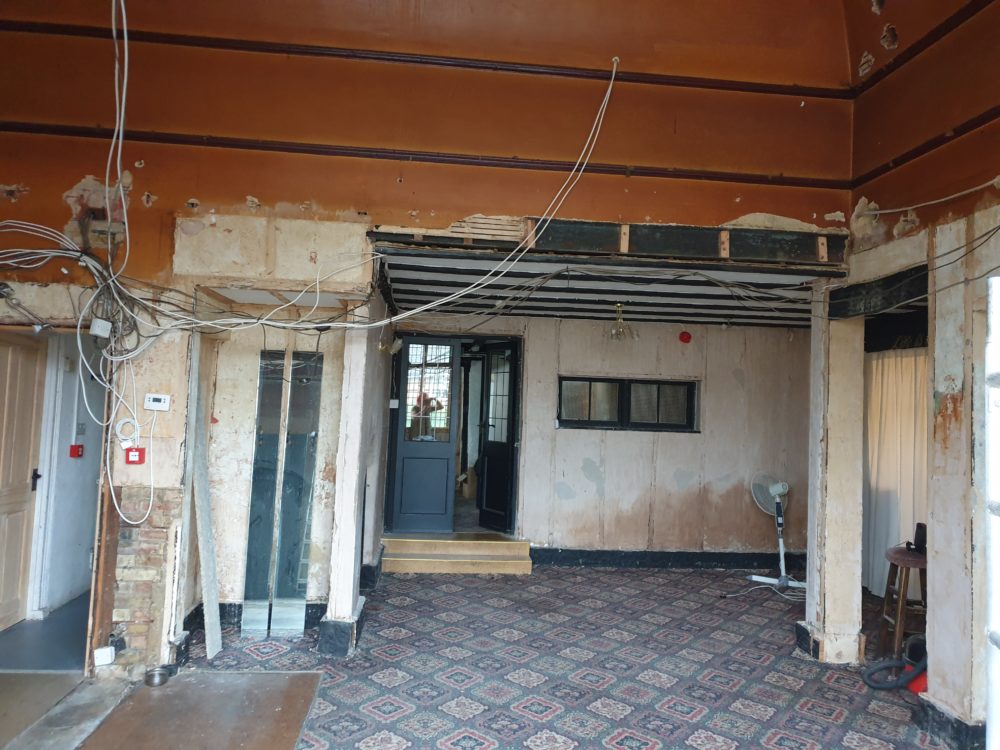
The wall and ceiling decoration is finished in the ballroom. Here’s a before photo looking from the ballroom into the secondary room after the false ceiling was removed. (Here’s an even more before photo).

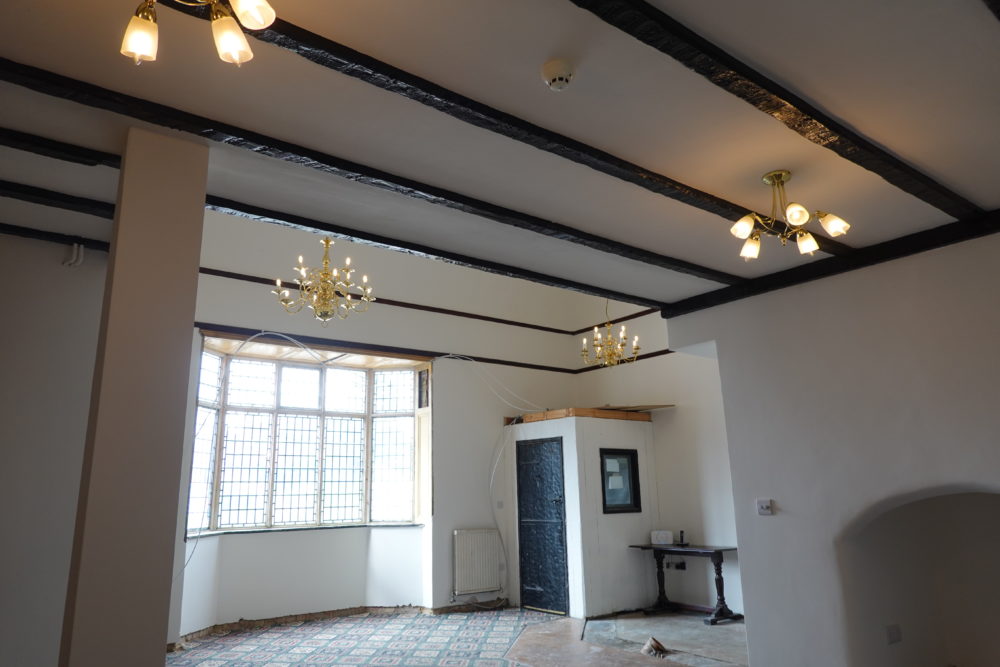
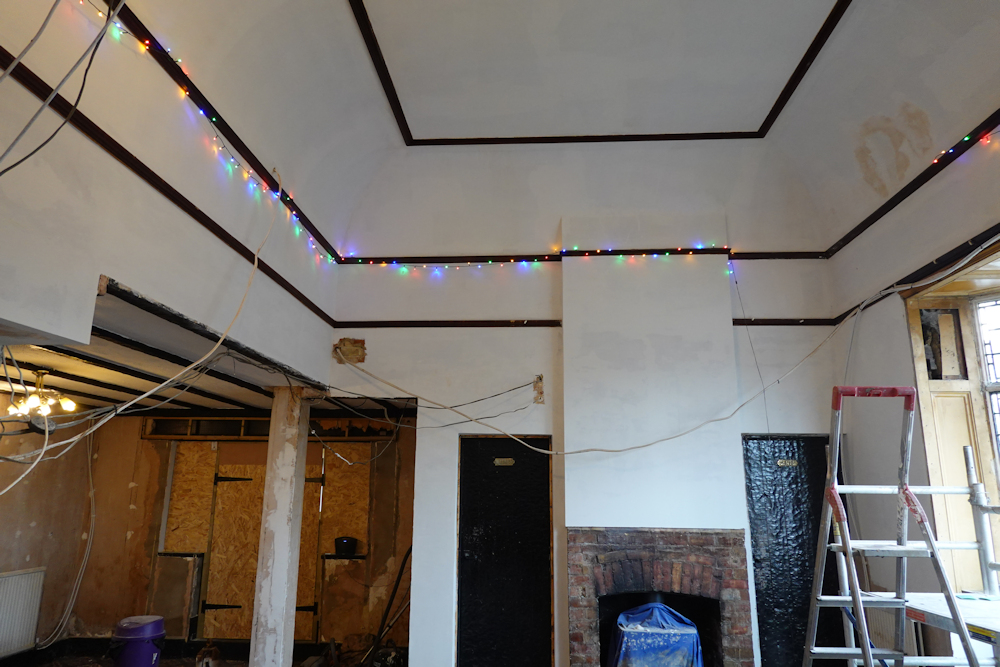
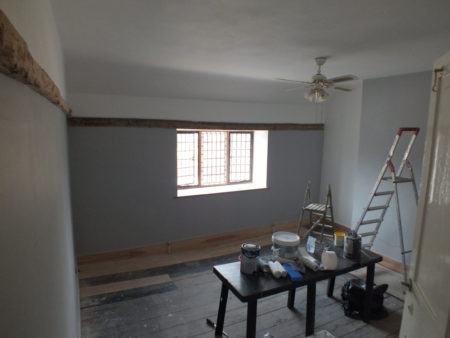
And the after photo. See – I have been doing something. Both of the wooden strips in the ceiling are picture rails which will open up some more decoration opportunities.

There is still plenty to do. The cubby in the middle of the photo above will get cupboard doors. Architrave, skirting and plumbing have to wait until the floor is finished.

In the other direction the window and vestibule aren’t quite finished. But it’s good enough so I’m going to try to get the snug finished before hopefully laying the ballroom floor over winter.

Finishing the decoration downstairs

The first fix electrics are done and the channels filled in ready for paint. I want to paint the walls before fitting the switches and sockets and there’s not so much more tidying to do before I can paint.

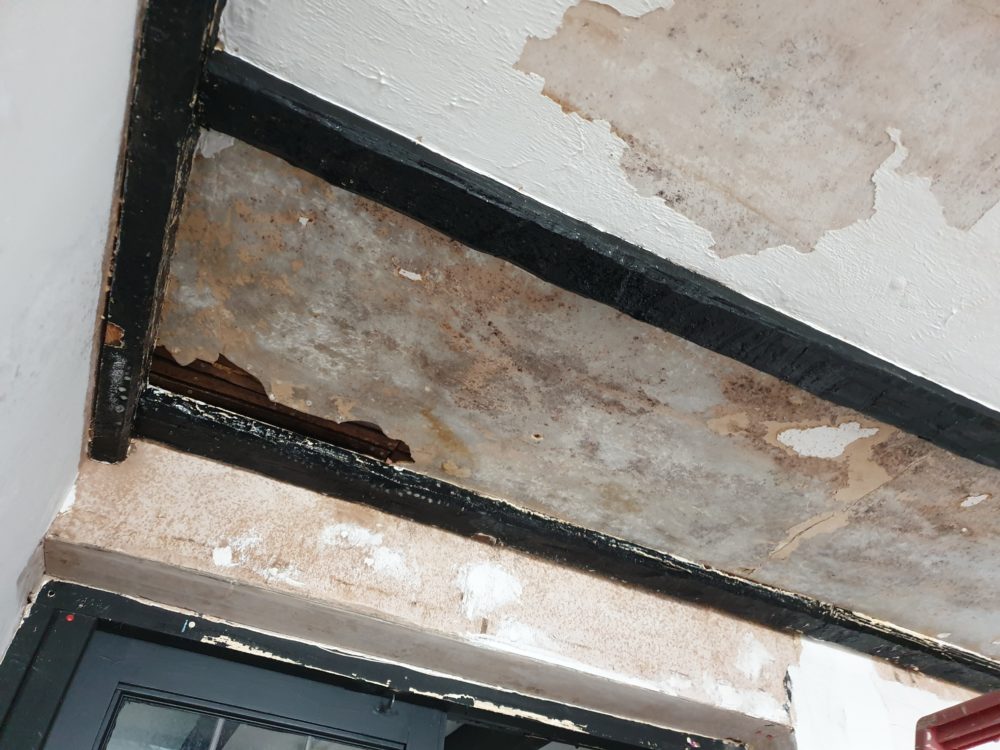
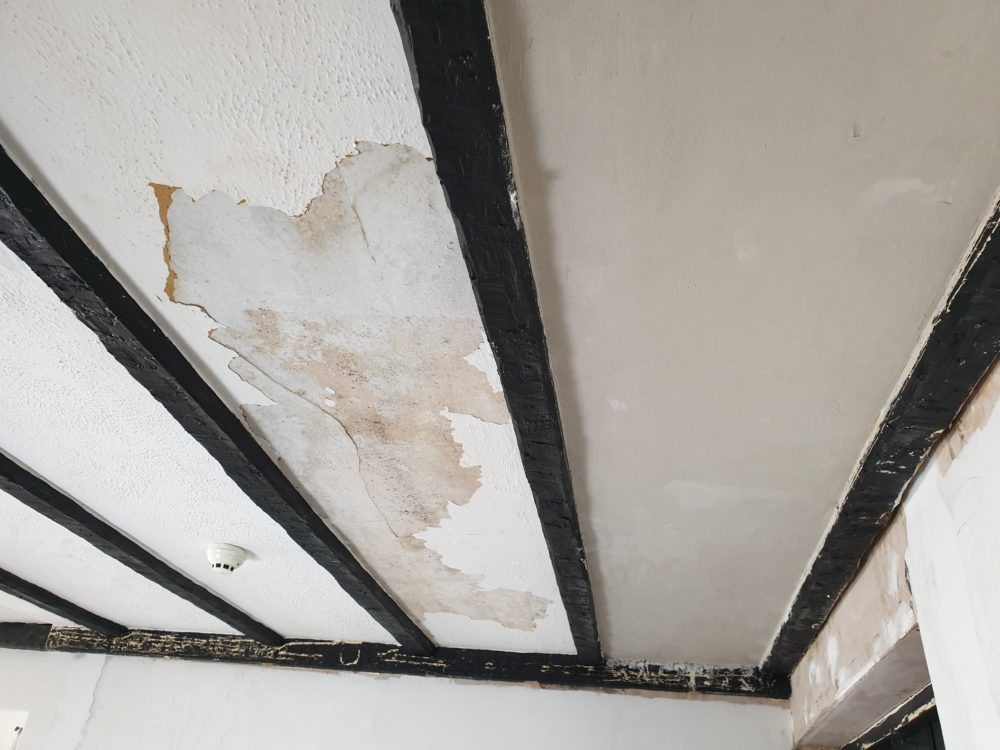
I’ve been putting off the ceiling. It is in lime on lath with lining paper which is the perfect way to do it. Unfortunately it has gloss paint and textured paint on top and is waterproof so I can’t remove the lining paper to get back to the lime.

A fair bit of the lining paper fell off after the burst pipe. The rest just won’t budge. The missing plaster in the corner was missing the lath so a deliberate hole for some reason. I’ve put some lath back in.

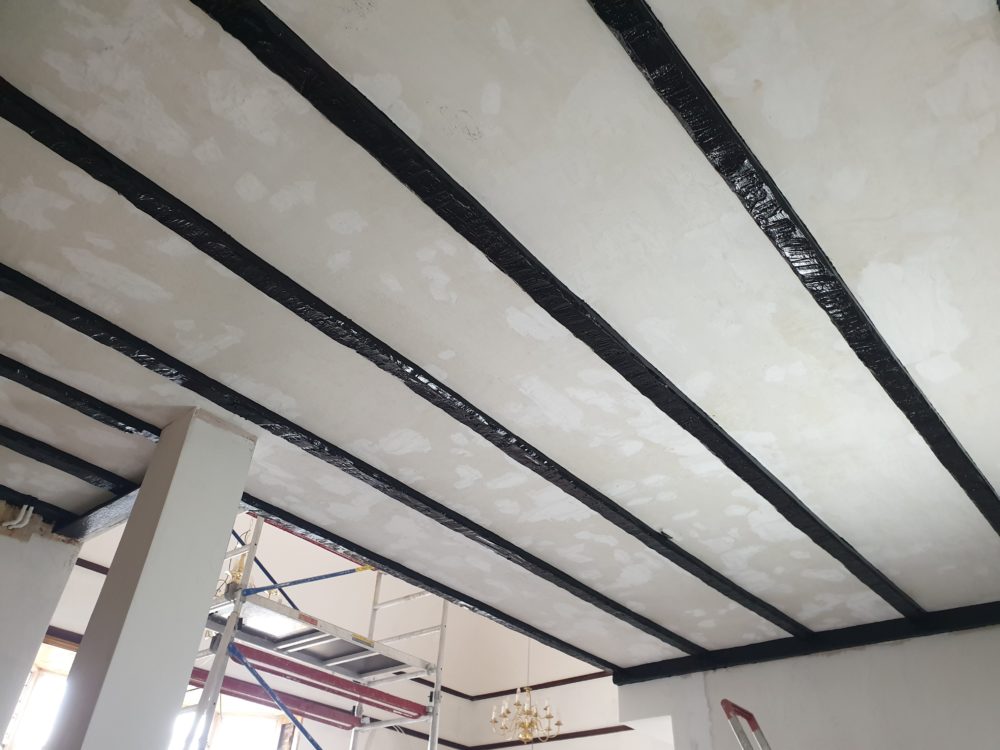
I’m doing a bodge and skimming over everything. I’m using Ecomortar R50 lime mortar which sticks well to stuff lime doesn’t normally stick to. I think it will work fine.

I don’t plaster often enough to remember how to do it. I got the mix just right – firm but sticky. I forgot the timing and did the finishing too late but it worked out OK with a bit of water spraying. Now I’m getting the hang of it the remaining ceiling should be done in a couple of days with a rest in the middle for sore arms.

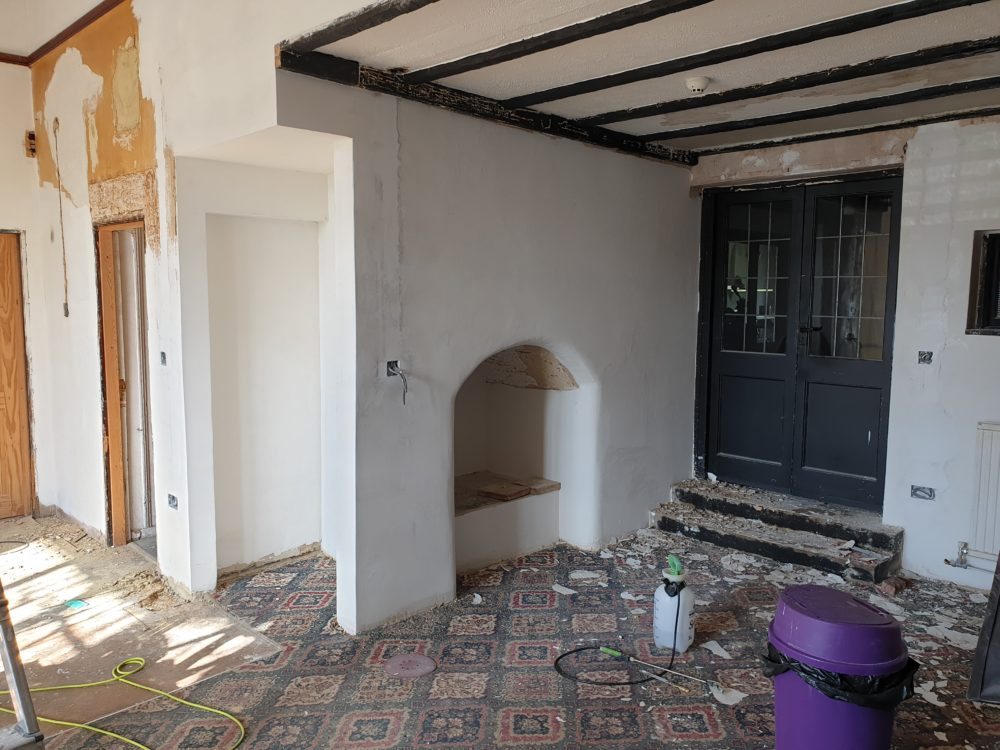
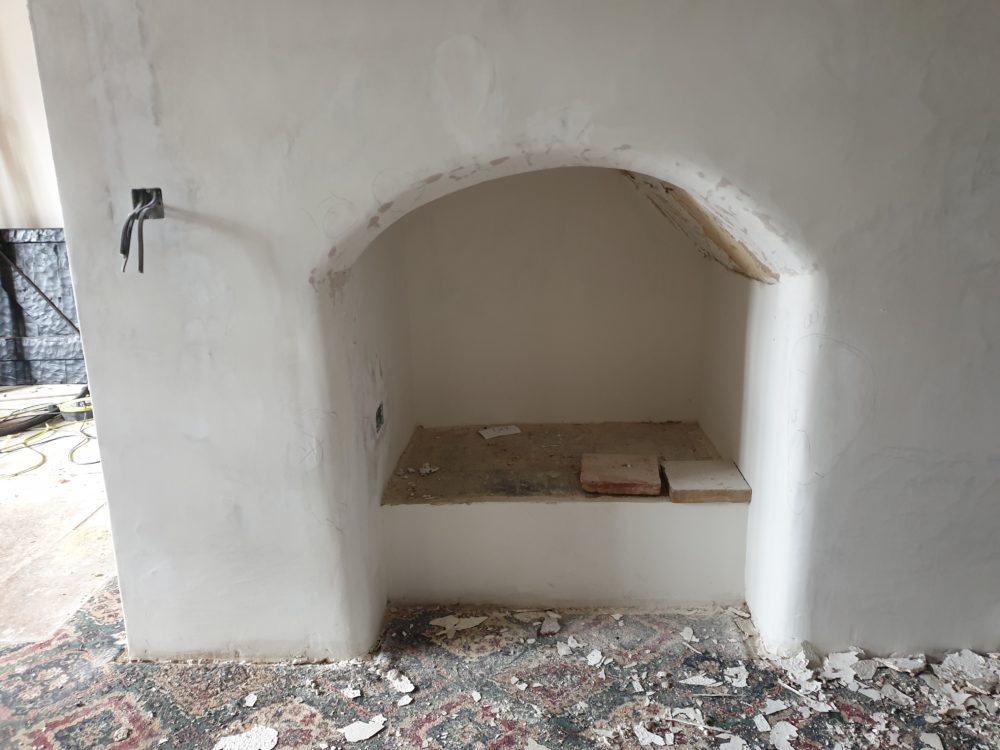
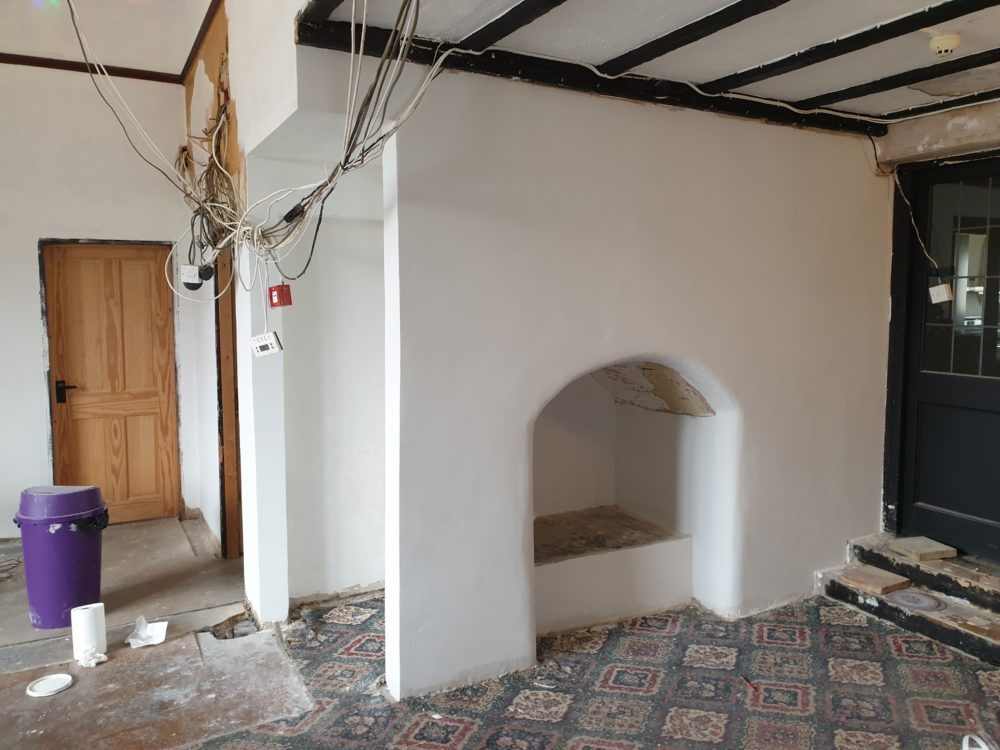
While resting I’ve been fussing about the wall with the arch. It is side lit by the window so you can see the crookedness. I’ve figured out what it is for. It’s not a chimney as it’s under some stairs built at the same time.

It was originally part of a lean-to and there were bull-nose bricks on the base. I think those were to make it easier to push barrels on top and this was where the beer was dispensed. This area was the bar after 1920 and I suspect the lean-to was open to the main room and acted as the bar before 1920.

The ceiling plaster is finished and I’ve started painting the woodwork. It took all day to re-paint the mock tudor ceiling beams. 50m of edges done at a snail’s pace.

The linseed paint should dry to a satin matt finish but it will take many days to dry. By then I should be ready to paint everything else.

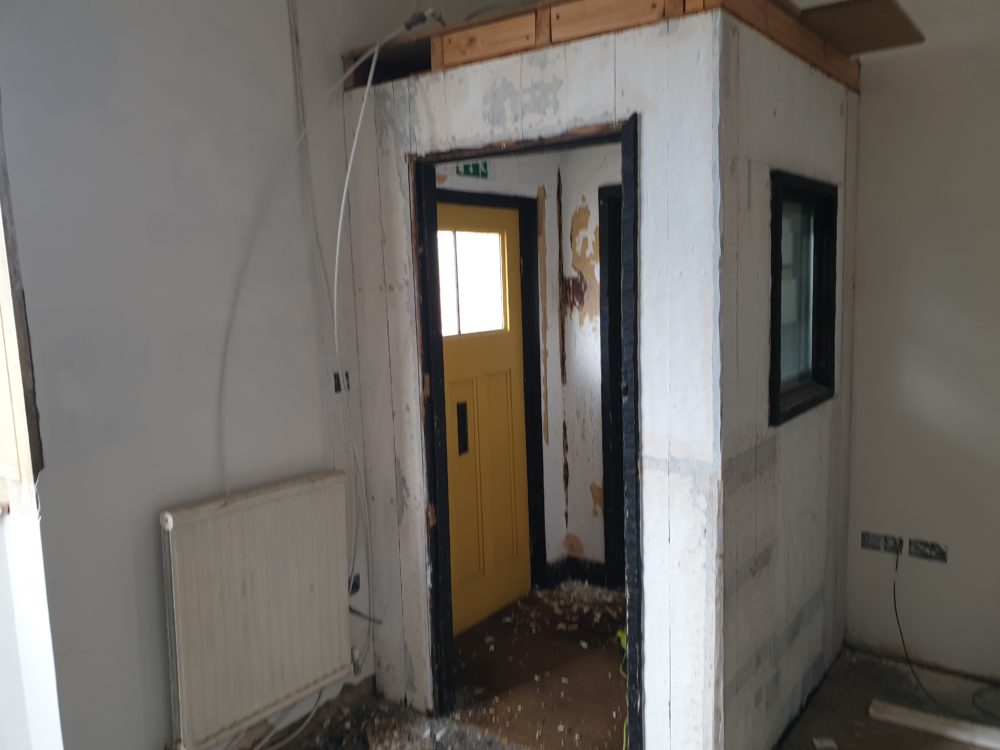
Most things now have the first coat of paint. I’ve plastered the ceiling in the cubby under the stairs and the last thing is the entrance vestibule.

Outside was easy – scraping off any loose paint and sanding the edges smooth seems to be working. Inside the thick textured paint has shrunk and cracked. I’ve found I can get the walls smooth with a paint scraper and am planning to paper over the cracks with lining paper. But I’ll do that when I decorate the snug where I will be using use lining paper to protect the lime from inappropriate paints.

With that I’m done posting about decorating. I’m sure to do a before and after once I’ve finished.

More paint on the ballroom walls

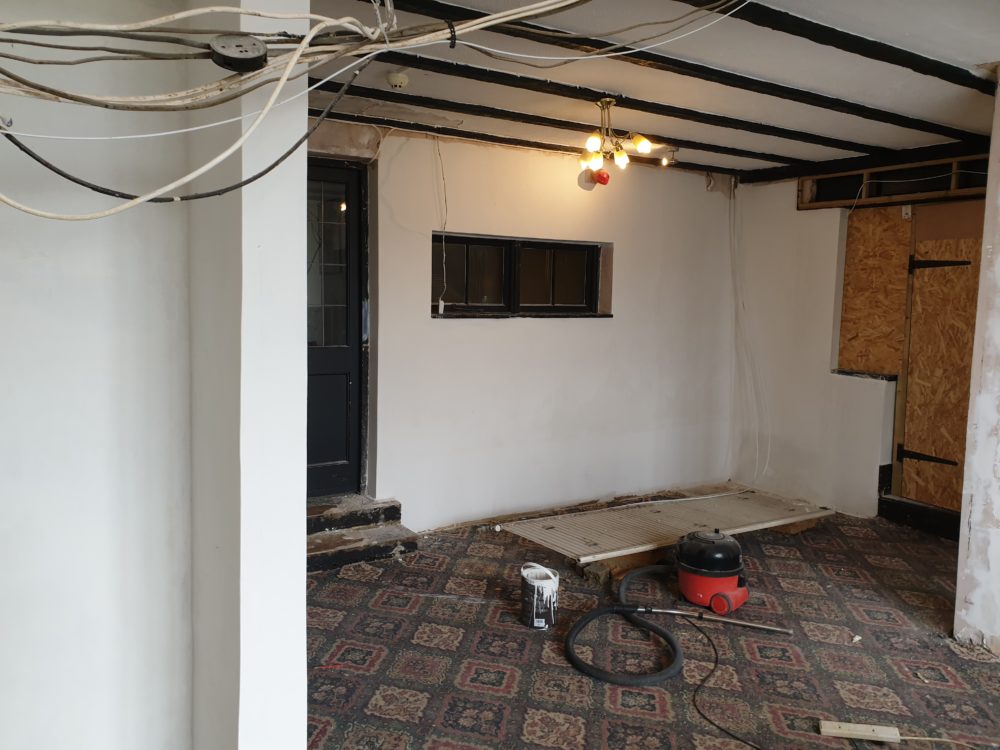
The downstairs has been looking dreary in bare plaster with lots of patching for nearly 3 years. After 3 days of filling most of it now has the first coat of paint. It’ll get the second coat done once the electrics are finished.

I’m using Earthborn clay paint because it’s breathable. It’s also expensive but should cover the walls in 2 coats which will save a lot of time. I’ve not finished yet as I ran out of paint but already the room is transformed.

I have no idea what the cubby with the overhanging roof was for. With the addition of a little woodwork and a door it will become a handy place for vacuum cleaners and wifi.

The wall with the arch is side lit and all the bumps show up. It’ll need more work.

I did a bit of plastering on the bay window too. The plaster at the edges under the window didn’t align with the surface of the wood panelling. Now it does.

I want to bring the architrave down to the skirting to tie in the wooden panelling with the lack of panelling beneath and make the huge window opening look more grand.

Painting the ballroom walls

Plaster repairs, filler, and prep for painting all take ages.  It was beginning to feel a bit overwhelming working day after day without any obvious progress.

So I’ve put the first coat of paint on the walls that are ready so far.    That feels better.

Painting the ballroom ceiling

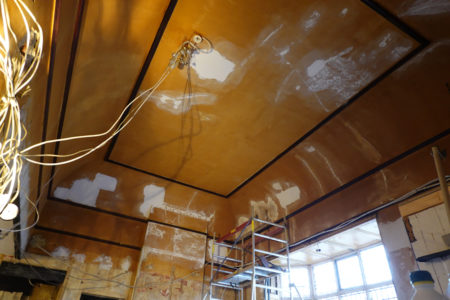
The ceiling ended up with quite a lot of plaster and filler in the repairs and cracks.  As the filling neared the end the thing that took the most time and effort was moving the scaffold tower around.   It’s been good exercise.

I finally measured the ceiling height – it’s about 4.5m and quite awkward to access.   That probably explains why it has only had 2 coats of paint over the last 99 years.   The first coat was a purple-red which must have been very dark.  The second was an off-white which has become brown due to tobacco smoke.

ceiling-prep

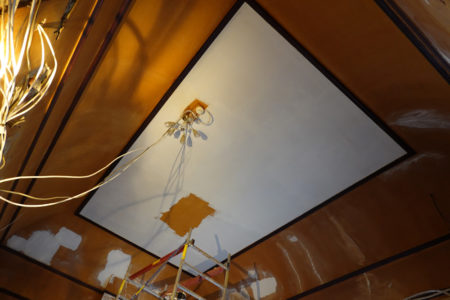
Finally a photo that isn’t completely brown.  I’ve painted the centre panel with Earthborn clay paint.   I took the photo before covering up the last little bit just to show the coverage.   Two coats should be enough for the ceiling which is handy as around 30 moves of the scaffold tower will be required for each coat on the whole ceiling.

So far the repairs aren’t noticeable through the paint.   But I have found a couple more cracks and a bit of lifting paint that I missed.   Overall it’s looking pretty good so far.

center-panel

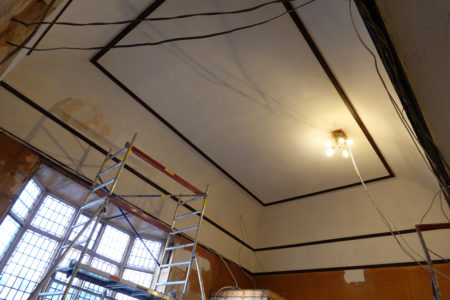
It’s starting to look smart with the rest of the ceiling painted.   Some salts have come through from a bit of plaster that got wet before the roof was replaced.   It’s dry now so a bit of primer should block the salts.

The white paint has changed the light in the room.  It is becoming much brighter in there.

ceiling-painted

A bit of paint is quite motivating.  The plan is to repeat the process on the walls, but I’ll likely do one or two walls at a time and then paint them for a sense of achievement rather than wait for all the walls to be finished.

Upstairs wallpaper stripping

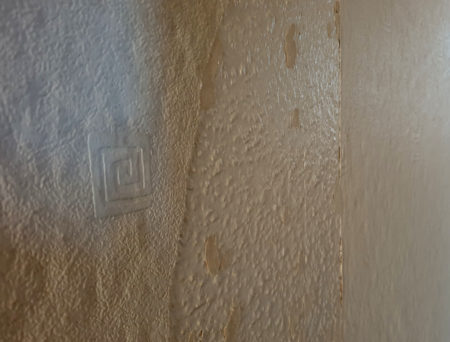
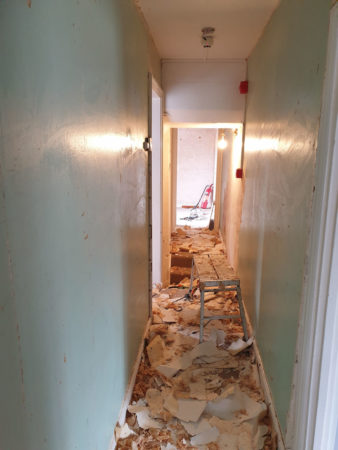
Upstairs someone had papered over woodchip wallpaper with textured wallpaper.   That worked out just as well as you might expect.   I’m getting ready for new electrics so it is useful to figure out what the walls are made of.

wallpaper-over-woodchip

The wallpaper came off very easily, but the shiny green stuff is waterproof paint over lining paper and is proving more challenging to remove.

after

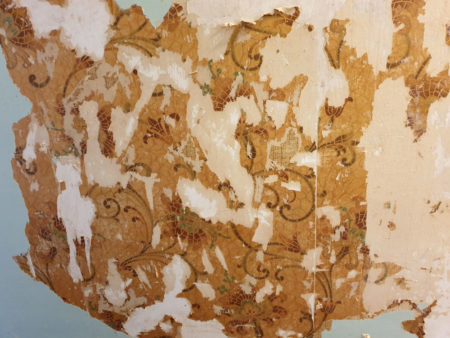
Some of the green stuff fell off anyway and it’s what’s underneath that is interesting.   I think the wall was skimmed with gypsum in 1921.   It’s a bit of a shame as I had been hoping to find evidence of an earlier layout.   But I maybe found the original 1920s wallpaper!   It’s very dark.  It must have been gloomy up there.

old-wallpaper

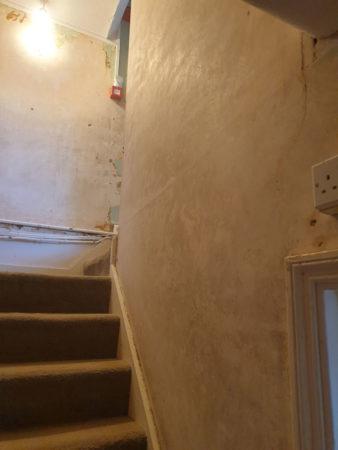
I bought a Zinsser scoring tool and some DIF concentrate.   They actually work!    The green stuff is gone from the stairs and the plaster underneath is well preserved having been protected by a thick cushion of wallpaper.

Modern practice would be to paint onto the plaster but I can’t do that – it’s 100 years old and perfectly preserved and it would not be possible to remove nasty modern paint from plaster.   I’ll put lining paper on.  Then use a nice paint.

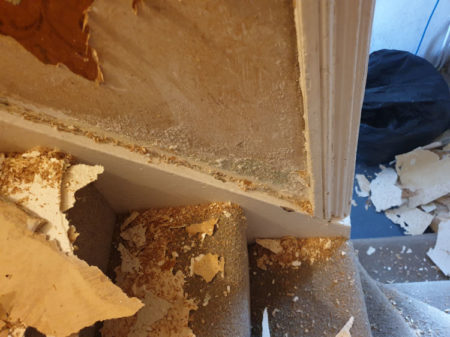
I had just cleaned the whole house and stripping the stairs made a huge mess again.

bare-plaster

And I found more damp.   The salts at the bottom of the plaster are particularly impressive being more than 1m above ground level.    I should imagine the wall has no damp course, and the walls had been waterproofed on both sides in the usual misguided way.   I’ll let the wall breathe so it can dry out.

salts-stairs

Wallpaper Stripping

I’ve been making a mess stripping wallpaper.   The wallpaper had been painted with a gloss or vinyl paint which defeated the steamer.  I ended up using a 5 inch bladed scraper to take the top layer of the wallpaper off, then the steamer and a paint scraper to remove the remains.   The whole room should be stripped in 3 days.

The steamer can also remove the textured paint underneath, but that is slow work and a scabbler and another skim coat will be quicker (there is no asbestos – it’s a thin emulsion textured coating).

walpaper-stripping

Guess what – I found some damp!   The impermeable paint had trapped water coming through from underfloor in the adjacent rooms which have a higher ground level.   It seems to be drying out now the wallpaper has been removed so a nice breathable clay paint should allow the wall to find a new equilibrium and avoid damp without any real effort on my part.

rising-damp

Plaster Conservation (with Lining Paper)

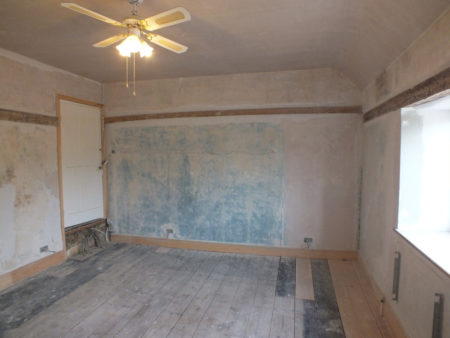
The Bedroom is one of the older rooms in the house.   The blue colour is distemper on top of haired lime plaster on wattle and daub. The pink (a gypsum skim over lime) was applied by the people* who filled in the door opening to the right, raised the ceiling, then chopped a new door opening through the wall plate!

*I’ve been calling them Edwardians but it seems that Gypsum became popular only after WW1 when skilled plasterers were killed and a new generation took over.   The remodel was complete before 1926 and started after William Thomas became landlord in 1910.  I’m going to change my estimate to 1920.

I’ve exposed the beams (I think the wall plates were originally exposed or hidden by the ceiling.  The tie beam was originally above the ceiling).

bedroom-plaster

The original plaster was protected by wallpaper and is still in reasonable condition after several hundred years.  Originally lining paper was applied before paint, and it is is lovely to be able to take off layers and layers of paint and get back to nice smooth plaster using only a wallpaper stripper.

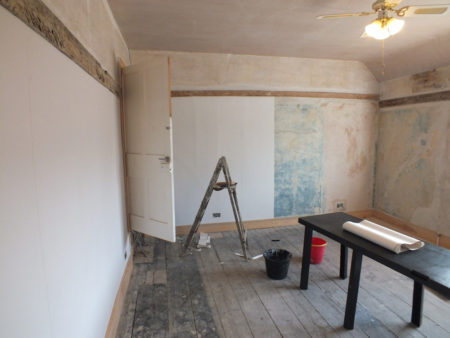
So I’m being nice to future restorers and covering the original plaster back up with lining paper before paint (using a cold water paste so the paper can come off again in the future).   It is my first time wallpapering and lining paper seems forgiving.   On the far wall the outline of the timber frame is quite visible through the paper.

lining-paper

It looks a lot better with the lining paper finished.   I went for maybe 0.5mm or 1mm gap between the sheets, then painted the joints, then used filler to hide the gap.    The paint allows the filler to be sanded a little and the joints in the paper aren’t noticeable after paint.

lining-finished

A bit of paint later and the room is closer to being finished.   Ceiling needs another coat and I might yet continue the wall paint past the beams towards the ceiling.

bedroom-paint

I did end up painting up to the ceiling above the beams.   Looks more balanced, but there is something very nice about bare wood against white walls.