Author Archives: malcolm

Garden wall foundations

The garden wall was delayed into the winter while a tree stump was removed and it’s getting warm enough to avoid bad frosts now. I spent a day figuring out levels and worked out that a 450mm * 450mm hole would be about fine everywhere. Planning 300mm concrete then a couple of bricks up to ground level. I don’t know exactly how tall my wall will be, but guessing I’ll run out of bricks between 1.2m and 1.4m.

A man with a digger got the hole dug by lunchtime. Ripping up the old foundations made the hole a bit wider than intended.
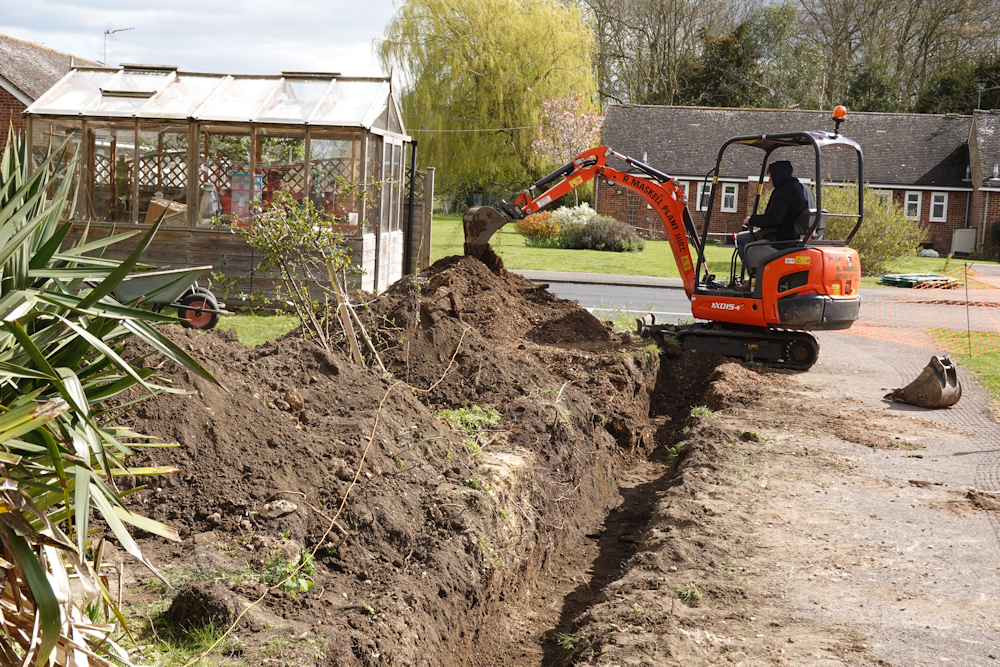
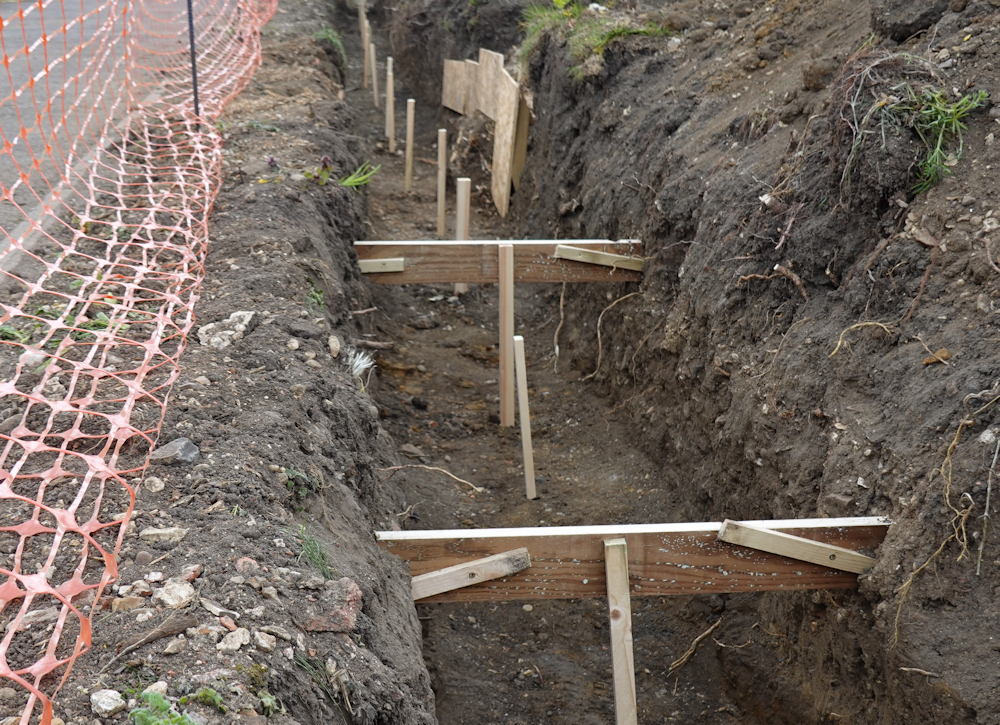
The ground levels step down by a couple of bricks at the corner of the wall. I’ve put formers in to make the drop one brick at a time. They aren’t where I intended as it was easier to put them where there were banks either side to drive stakes into. There’s also a bit of shuttering at the side of the hole where the tree was.

The vertical stakes indicate the level of the top of the concrete which is a couple of bricks below ground level. They don’t look level in the photo as they go squint when you hit a stone, but they should be accurate for height. They all go into the ground more than 200mm which is useful as you can’t see them when the concrete is poured and they get knocked with the rake.
I used a mix on site concrete truck. They started off with some fairly firm concrete to dam the level changes and then filled the trench up with the normal runny concrete while I raked and tamped behind.

It’s mostly worked. The foundations start 1/8 inch high, then fall 1/4 inch low for a good length. Also one of the dams is leaking very slowly and one end has dropped by 1/2 inch. I’m hoping when the concrete gets around to it’s initial cure it will put a stop to that. We’ve been having light frosts so I’ve covered everything with hessian and can worry about it later.

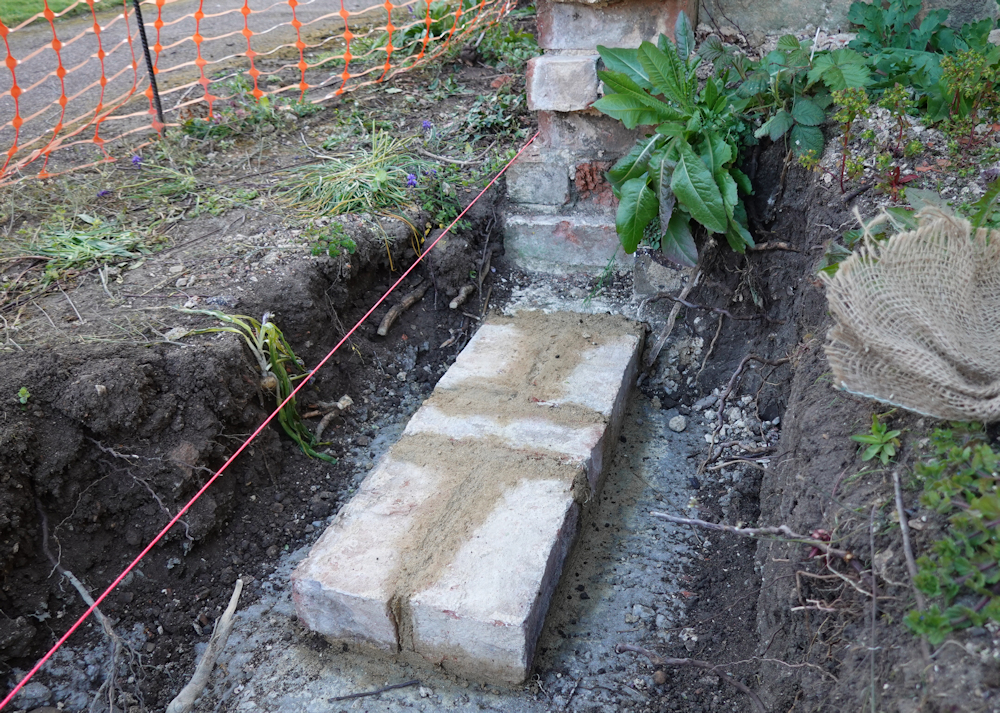
The first bricks went in a couple of days after the concrete pour. The existing wall leans a little and I didn’t have a good reference for the new wall as it starts off lower down than it used to and there is a slight change in direction. The existing wall was awful to set out from.

The cunning plan is to build a pier after these bricks. I can set the wall out nice and straight from there and also blend the old wall into the pier.
Garden Wall Bricks

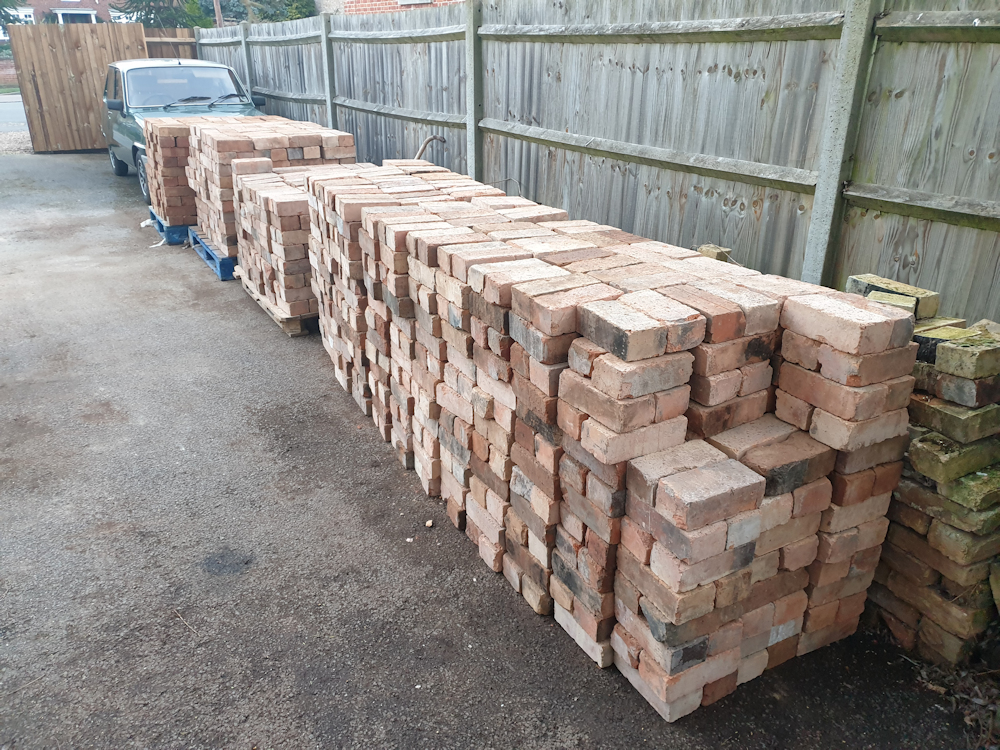
2000 bricks arrived for the garden wall last week. I also saved 1500 of the original bricks. Now I have a lot of bricks.

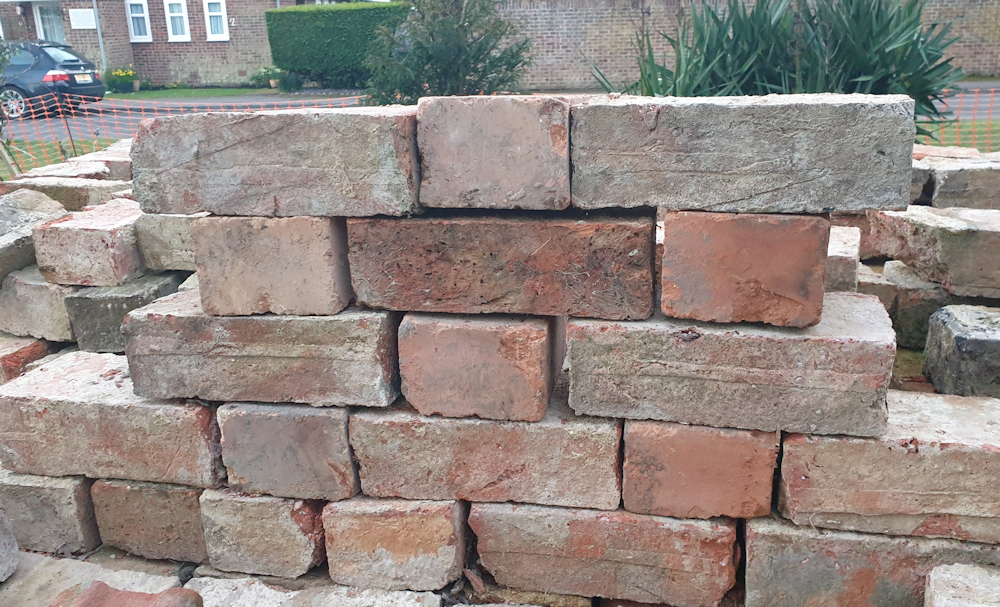
I had planned to use new bricks but the lead time is too long at the moment so I went for reclaims. The bricks came from Loaded with bricks in Birmingham and just about all of them look useable which is surprisingly good for reclaims.

The size and colour of the new bricks match the original bricks well. The originals are Bedford Clamps and are rare these days. The texture doesn’t quite match. but once there is mortar in there nobody will notice.

I’m planning to use the new bricks as headers and the original ones as stretchers (as the photo below) so I can retain the stripe of Bedford Clamps and also hide their spalled side. I forgot that there are twice as many stretchers as headers so my brick buying maths doesn’t quite work.

Next job is organising a hole for the foundations and getting the concrete poured. After that I should have a nice relaxing job laying bricks for some time.

Tidy up in the yard

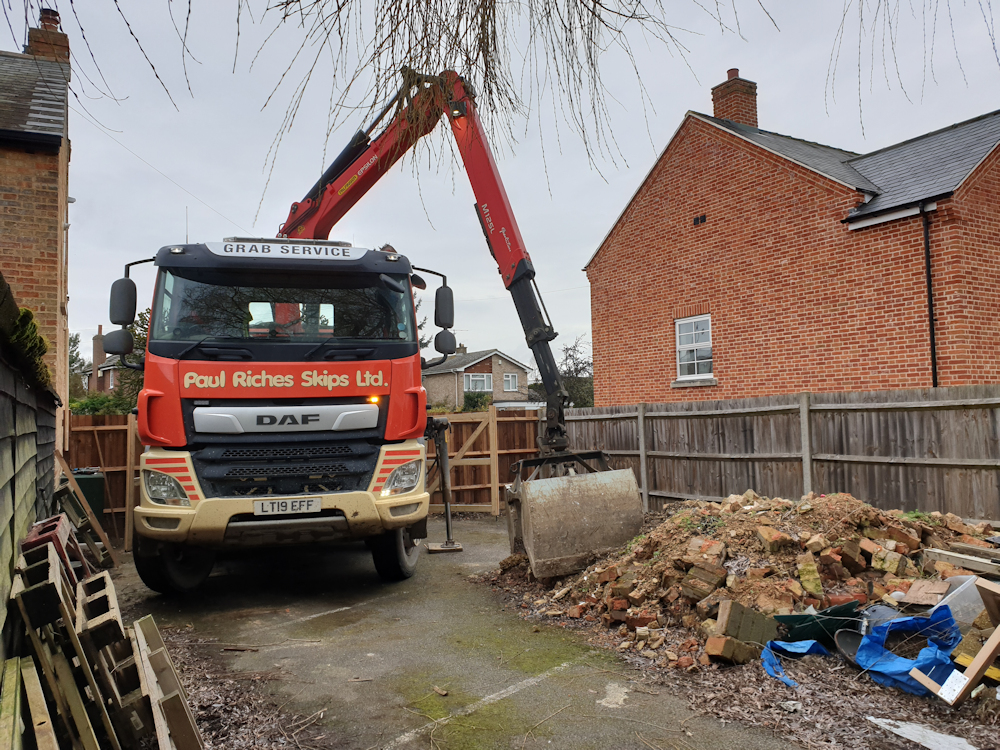
Once the gates were fitted I realised that there wasn’t enough space to drive a car in and then close the gates behind it. More space was created with the help of a grab lorry removing a big pile of unusable bricks from the garden wall.

3.5m seems like a good width for the gates. The lorry had no trouble getting through and had space to manoeuvrer to avoid the Renault 5 and the drain cover.

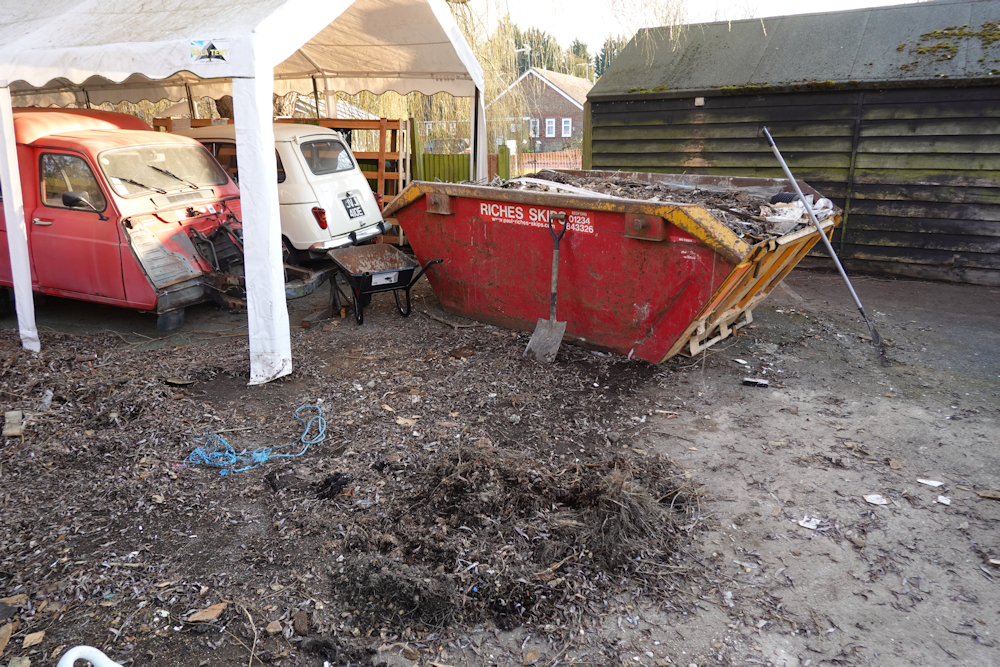
Spurred on by the extra space generated by removing the rubble I cut the pallets into firewood and ordered a skip for the big pile of rubbish that started building up last year.

I’m surprised it all fitted into the skip. I thought it was going to take 2 skips.

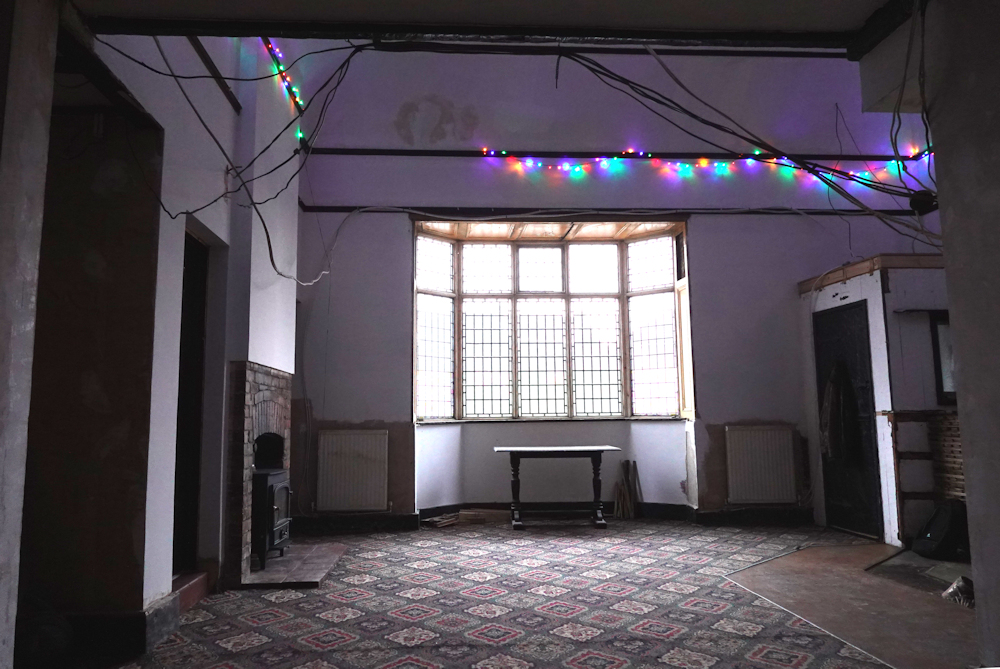
There is no scaffold tower in my ballroom

Sounds like a Swedish English translation but it is really true! The tower that has been there for the last year has been tidied away. I have a very welcome 3 month contract so progress is going to slow again. I’m having a tidy inside and outside and finding long lost tools.

Wiring isn’t done yet. I’ve given up trying to find an electrician. Job is awkward and they have plenty of non-awkward work they can do instead. Electrics will be down to me.

Christmas lights are still up. I’ll need a scaffold tower to take them down. 🙂

Driveway gates

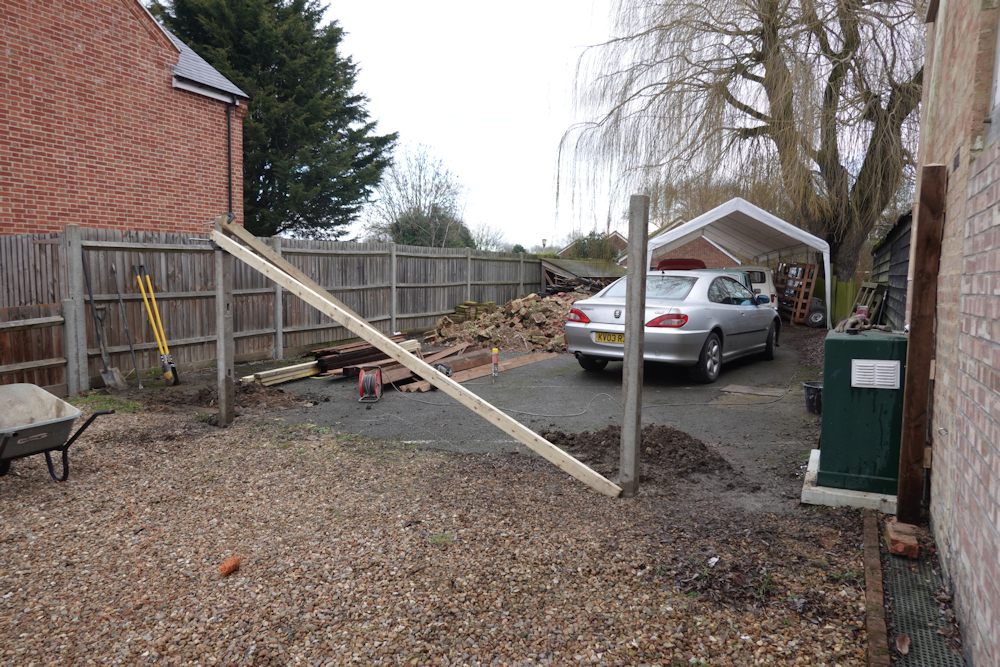
I put the posts in for a fence with gates on the driveway. I had hoped to put them a little further to the right but that area is full of services and there wasn’t a safe place to dig. I did try but found a gas pipe in an unexpected place. The posts holes are 3 feet deep and my arms are sore now.

The gates are quite wide with a 3.5m opening. I’m going to claim that’s so a skip lorry will be able to manoeuvrer so I get the skip where I want it. Actually I first marked out a smaller opening and it didn’t look wide enough so I made it a bit wider. Now the posts are up it looks huge!

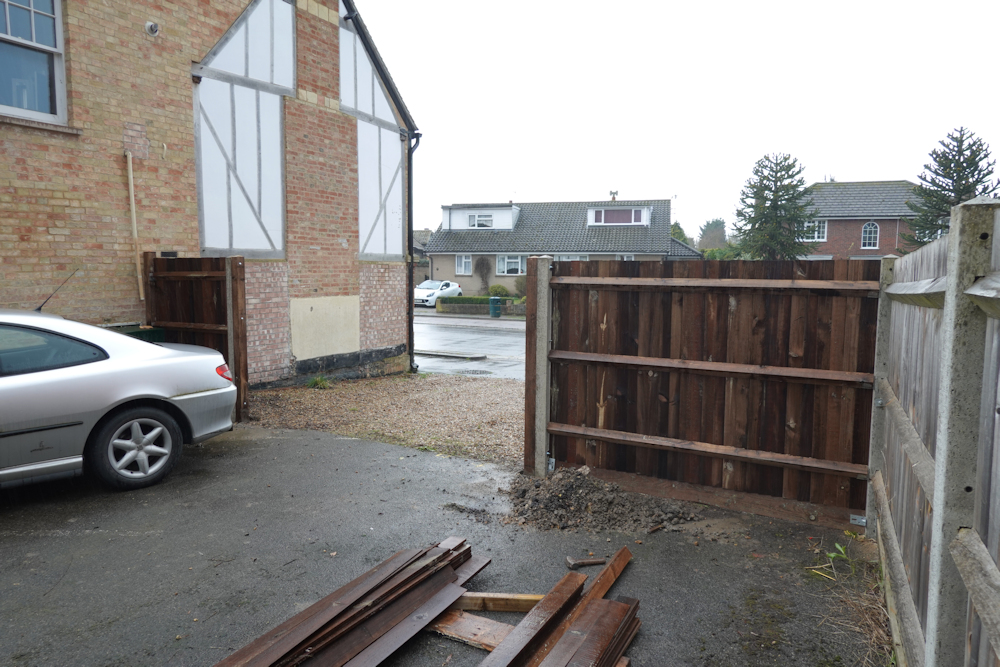
A day later the fences are finished. Just the gates to make now. On the right the arris rails are mounted on brackets screwed to the existing post. On the left I’ve screwed a post onto the wall. Neither will take much load.

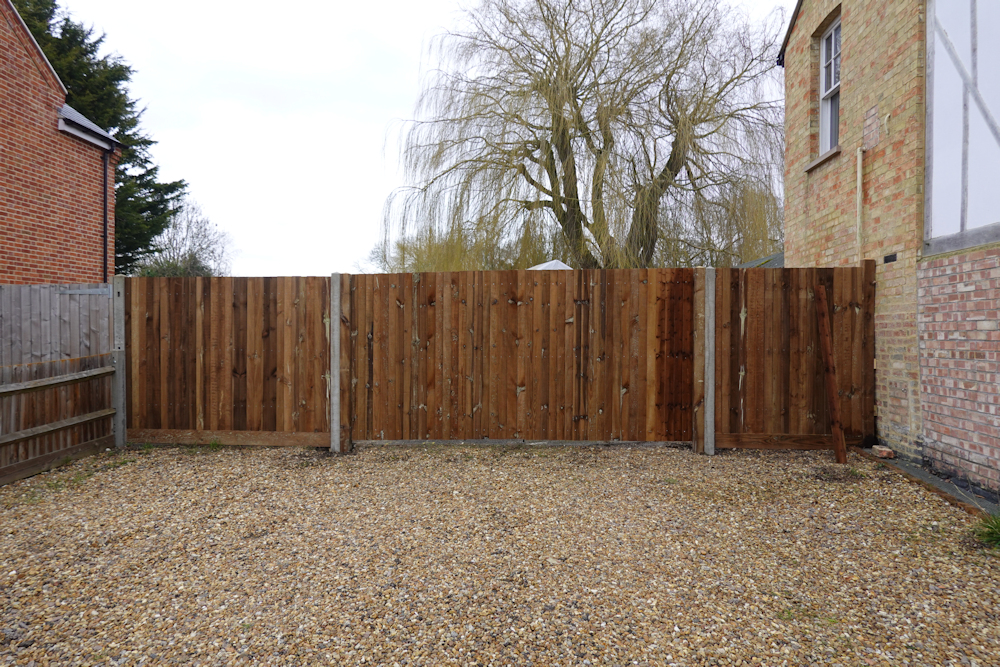
With the fence in place the opening is looking smaller again.

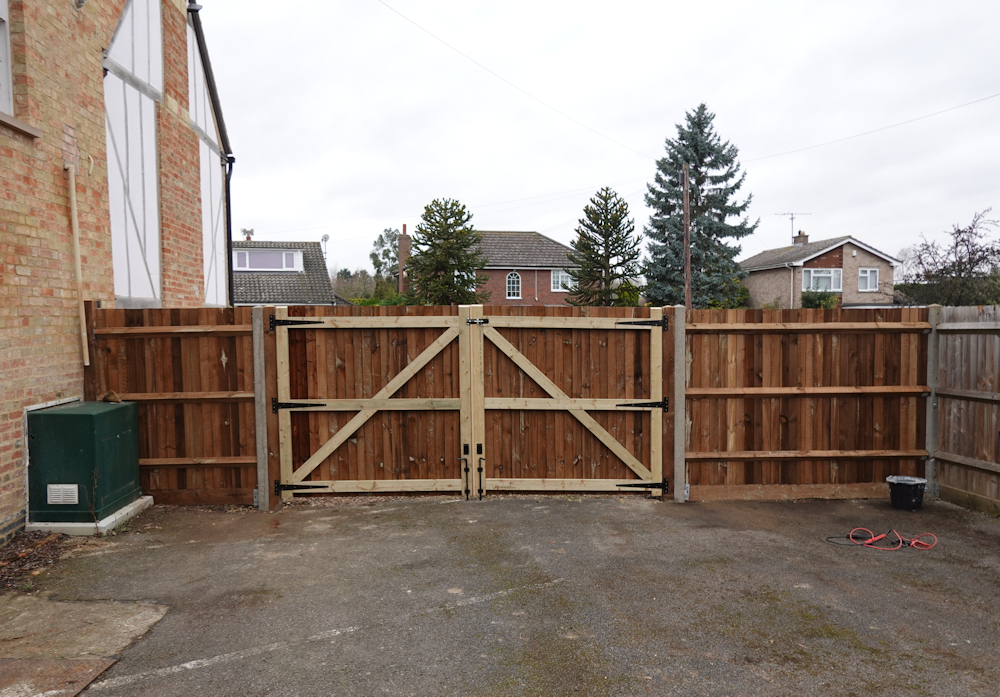
The gate frames were positioned in place using clamps and spacers and the feather edge boards added later. I had to remove the diagonals and adjust the gates to account for the sloping site.

The lock isn’t in place yet. I’ve found one that can be unlocked from both sides of the gate. Gate open stays aren’t in place either. I’m using a bucket of water to hold the gates open.

It’s ended up looking quite neat from the outside. The fence is not straight as it has to follow the shape of the driveway, and there is also a 20mm tip up in the middle of the gates to allow for settling as the wood dries out.

The diagonals are also removable for later adjustment in case I run into trouble. The wood was supplied soaked through so I’m expecting shrinkage issues.

Painting the ballroom walls

Plaster repairs, filler, and prep for painting all take ages.  It was beginning to feel a bit overwhelming working day after day without any obvious progress.

So I’ve put the first coat of paint on the walls that are ready so far.    That feels better.

Plastering the ballroom walls

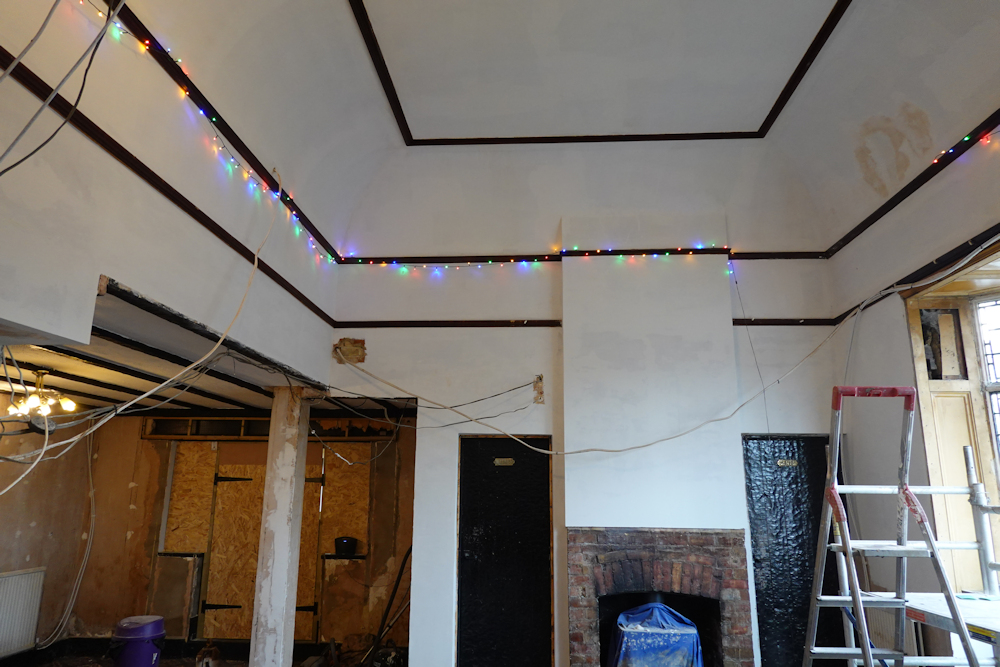
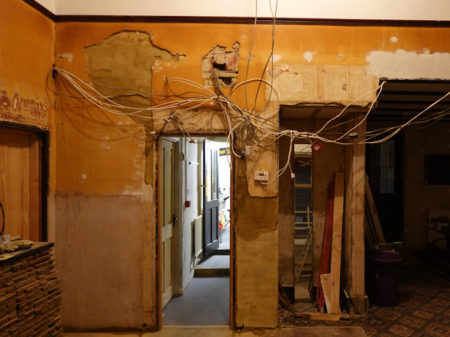
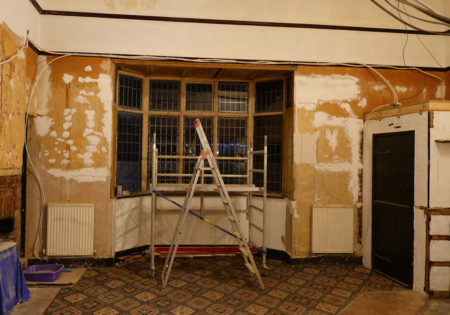
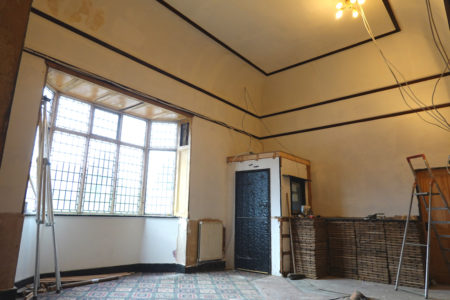
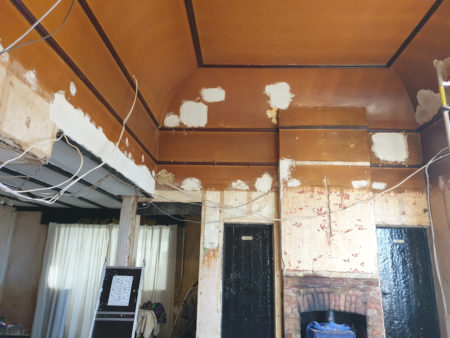
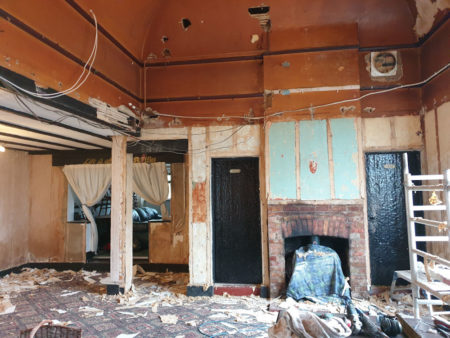
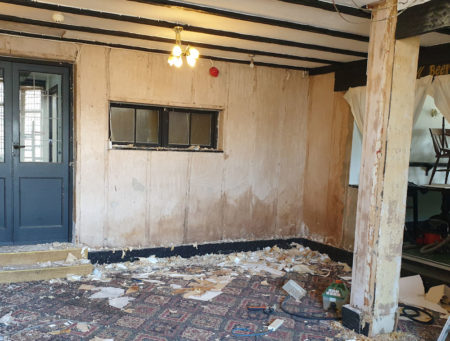
The walls are not in perfect condition.   They were thoroughly mock tudored in the 1970s and removing the mock tudor resulted in a lot of damage.    The lower 5 feet were wood panelled in the 1920s then plastered in the 1970s.   The next few feet have textured paint, then the parts that were above the false ceiling have been knocked around by electricians and plumbers.

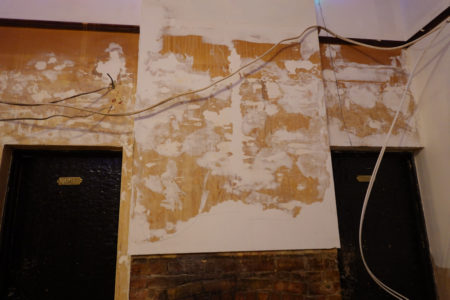
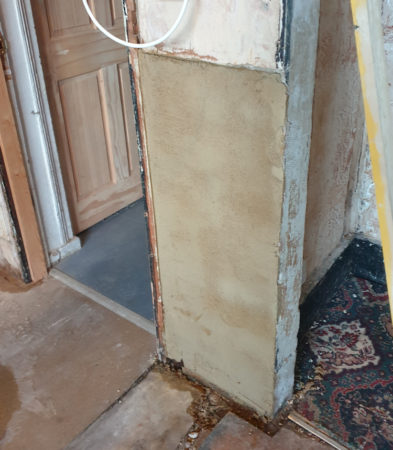
In the photo above the left of the doorway and to the right of the doorway is some basecoat plaster I’ve applied directly on brick.  It will need a second coat to get a couple of millimetres shy of surface level when I’ll switch to the lime repair plaster.

The brick was really thirsty having been inside for 100 years.  I could hold the sprayer in the same spot for some time and the water would be sucked in rather than run off.  It’s best to pre-dampen bricks so the water isn’t sucked out from the new plaster before it makes it’s bond.

base-coat

The other side of the room is a little further along.   The larger holes have been repaired using the repair plaster.  I shape the plaster using a steel rule which gets the level just below the surface.   The final coat is a filler which has the advantage of being sandable.

The original plaster on those walls is still reasonable smooth and straight so there is a chance I’ll get away with filling the many holes people have made and then then just paint over.   At worst I’ll need to use lining paper.   I don’t think I’ll need to skim

filling-walls

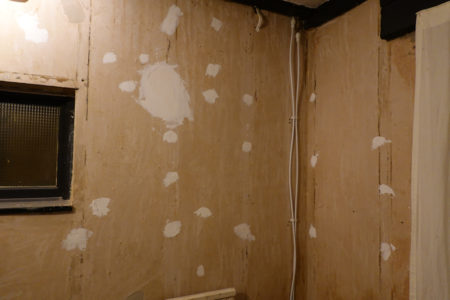
The dining area was re-plastered in the 1970s and has accumulated fewer holes – mostly just where the mock tudor was nailed on.   I’ve found filling to just above the plaster level then a quick once over with a drywall sander is a really quick way to make the walls perfect.

filler-spots

I finished filling a couple of walls and put the first coat of paint on to see how it would look.   The repairs aren’t noticeable and the walls look flat.

I felt it took a long time to prepare the walls,  but it was only 5 days ago that I painted the ceiling.  I think it’s just boring, and a couple of weeks plugging on with it should have all the walls finished.

walls-painted

Not everything is finished.   The textured paint came off with some effort with a paint scraper after softening using Zinsser BIN wallpaper stripper.  The resulting surface looks worse than it it.

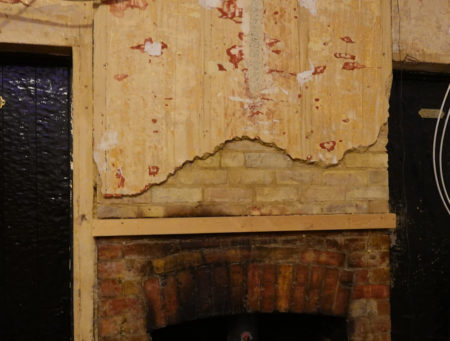
The last bits of loose plaster in the room have been knocked off the fireplace and the wooden former is in position to make an edge for the new plaster before I figure out what sort of trim or shelf I might eventually put in it’s place.

fireplace

It’s a big area with more than one room and takes ages.   I’ve been scatting around the place doing bits on everything because drying times.    Here’s the chimney again after 2 coats base plaster, 2 coats repair plaster, then a bit of filler to tidy everything up.

At the time of edit I’m wondering if I can get it all finished and painted in time for my Christmas photo.  Get the fire burning and lean nonchalantly on the mantle that isn’t there yet.  One day left.  Sure to happen but the paint might still be wet.

plastered-fireplace

Bits of wood are excellent to use as corner formers.  Removing mock tudor had pulled the corners off the weird box in the ceiling that hides the top of the stairs.   A bit of thin ply marked with the line of the ceiling,  cut to shape and screwed to the wall was fab for quickly forming the corner.  The plaster pushed into the gaps also made the edges for the remaining plastering.

sharp-corner

I doubt I’ll get all the walls painted for Christmas, but the lights are up!

Painting the ballroom ceiling

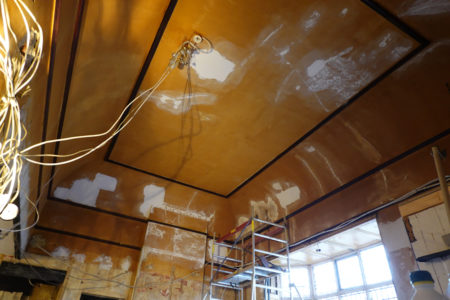
The ceiling ended up with quite a lot of plaster and filler in the repairs and cracks.  As the filling neared the end the thing that took the most time and effort was moving the scaffold tower around.   It’s been good exercise.

I finally measured the ceiling height – it’s about 4.5m and quite awkward to access.   That probably explains why it has only had 2 coats of paint over the last 99 years.   The first coat was a purple-red which must have been very dark.  The second was an off-white which has become brown due to tobacco smoke.

ceiling-prep

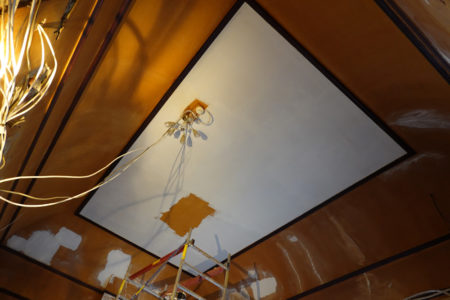
Finally a photo that isn’t completely brown.  I’ve painted the centre panel with Earthborn clay paint.   I took the photo before covering up the last little bit just to show the coverage.   Two coats should be enough for the ceiling which is handy as around 30 moves of the scaffold tower will be required for each coat on the whole ceiling.

So far the repairs aren’t noticeable through the paint.   But I have found a couple more cracks and a bit of lifting paint that I missed.   Overall it’s looking pretty good so far.

center-panel

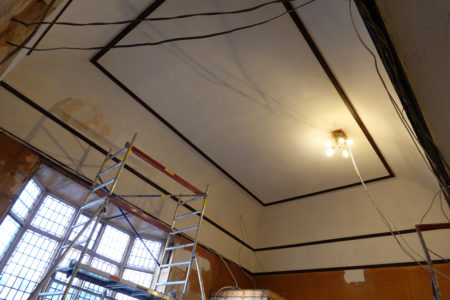
It’s starting to look smart with the rest of the ceiling painted.   Some salts have come through from a bit of plaster that got wet before the roof was replaced.   It’s dry now so a bit of primer should block the salts.

The white paint has changed the light in the room.  It is becoming much brighter in there.

ceiling-painted

A bit of paint is quite motivating.  The plan is to repeat the process on the walls, but I’ll likely do one or two walls at a time and then paint them for a sense of achievement rather than wait for all the walls to be finished.

Plaster repairs in the ballroom ceiling

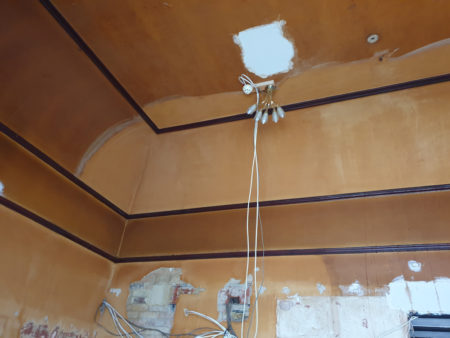
The were a lot of holes in the ballroom ceiling and they are slowly being filled with plaster.   The walls have been damaged quite extensively and will probably need a skim, but most of the brown coloured ceiling above is in good condition apart from a few holes.   The ceiling wasn’t brown originally – the colour is from a century of tobacco smoke.

Once the plaster on the ceiling is finished I’m planning the first coat of ceiling paint to brighten up the ballroom.  I’ll do the second coat when I start decorating.

plastering-progress

The walls below can’t be completely finished until the electrician has been, but I can save time later on by making them straight and getting some plaster on them.

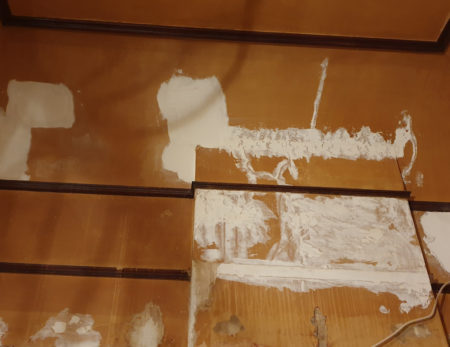
For base coat directly on bricks I’m using a lime render similar to the one I used outside.  It goes on much more thickly and smoothly than the white lime repair plaster which is more of a skimming plaster.    I realised while applying this bit that small bit of (modern) plaster above doesn’t line up with the door jam.  Oops – will knock that off and extend the new plaster to the original a little higher.up.

I found some rotten parquet at the bottom of this bit of this wall.   I’m hoping the rest of the concrete floor in the ballroom wasn’t laid over parquet because that would be really annoying.  But it is good to find out the main room was once finished in parquet like the snug.

base-coat

For the lath I’m using St Astier R50 Ultrafine lime plaster because I panic bought a few bags before lockdown.   It’s a skimming plaster intended to go over plaster or paint or whatever is there.   It is strong, sticky, and has a chemical set so it doesn’t crack.  It’s not exactly the right stuff for base coats as it can’t be applied thickly with any neatness.

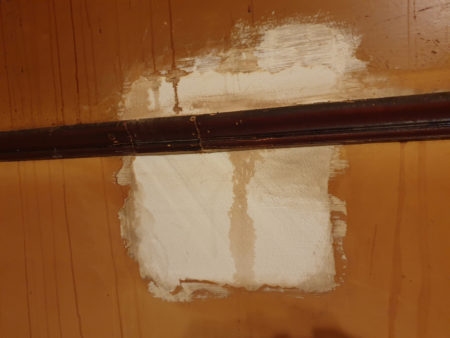
Most of the repair plaster repair is now close to the surface and just needs finishing.   This one was a fiddle as the picture rail had been cut away.    I spliced in a a bit of picture rail recovered from the chimney and the join isn’t noticeable from the ground.

base-plaster

I’ve decided to clean the ceiling using sugar soap before the final coat of plaster on the repairs.   I had thought the paint was gloss, but it seems the gloss was just the muck on top.

Applying the soap with a sponge on the ceiling overhead and scrubbing was physically exhausting and the next day was a recovery day.  I’ve been adjusting the process  – spraying and soaking the surface, letting the sugar soap soak, then just wiping off to reduce the effort and that has sped things up.

cleaning-ceiling

The entrance vestibule now has a roof.   the ceiling of the vestibule was once part of the false ceiling.   I cut the joists back but the ceiling is weak and the vestibule made the corner of the vaulted ceiling above inaccessible by scaffold tower.

I had imagined throwing a few loft boards on top would have been a minor job but it took a whole day.  The odd shape was one thing but a lot of time was spent routing joints to make the most of what I had after I found my stock of loft board wasn’t all the same thickness.

The new roof provides a good platform for painting this corner of the ceiling.

entrance-roof

There is not much plaster repair in this post because I find it really boring.  It’s day after day.   I’ve been building up repair plaster to just below surface level then doing the final skim with filler and using a great big drywall sander to get things level for paint.

It’s almost finished.   I’ve tried a bit of paint over the repairs and the repairs are not noticeable.    One day more and surely I’ll be able to at least paint the ceiling.

almost-finished-filling

Some methods to repair big holes in lime plaster

The beautiful vaulted ballroom ceiling has quite a lot of big holes caused by the false ceiling, and then by plumbers and electricians fitting things above the false ceiling.    I’ve been filling the holes to get ready for plastering.

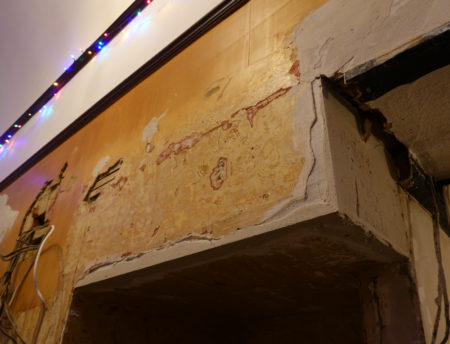
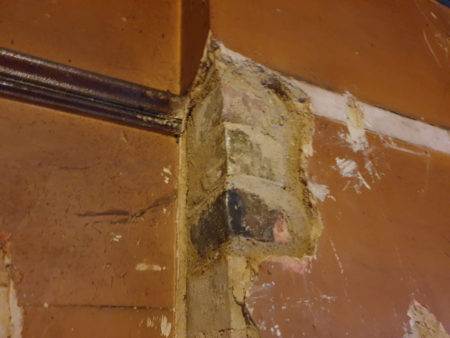
My favourite method is to use bricks.   This is a corner of the chimney which had been cut away to install a beam that supported the false ceiling.  There is no need to be neat as the bricks will be covered.

bricks-replaced

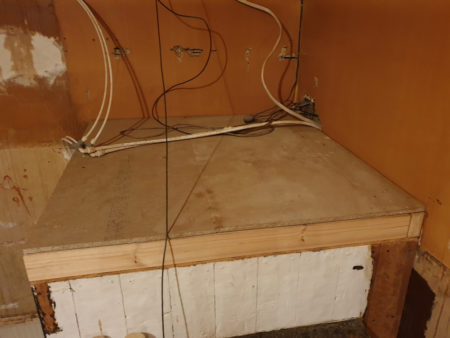
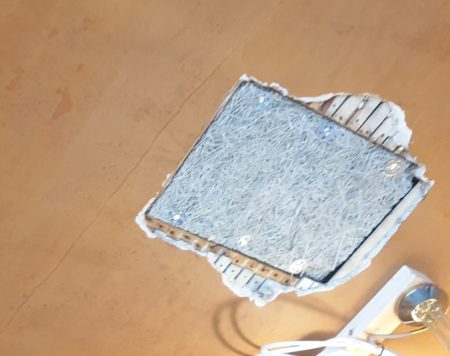
In the middle of the ceiling there was a big square hole which seems to have been made by an electrician for some reason. It lent itself perfectly to a square of woodwool board screwed to some 2 by 2 attached to the joists.

woodwool

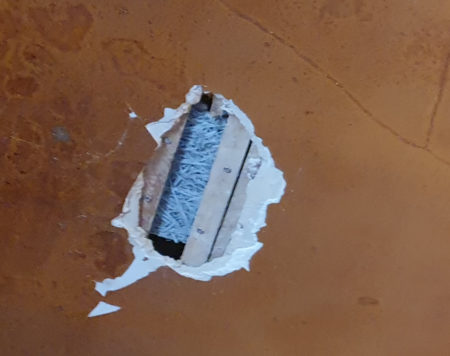
I later tried screwing some woodwool board behind some lath on a smaller hole but the screws didn’t hold in the woodwool so that’s a poor approach.

It doesn’t matter much as it’s only a very small hole and the plaster itself will provide enough strength to hold itself up.  For a bigger hole there would be a need to attach some actual wood behind the woodwool to provide something to screw in to.

woodwool-above-lath

The edge of the false ceiling had been cross nailed to the lath supports using very big nails.    Removing the ceiling caused a lot of damage to the lath and plaster.  On this occasion after removing the loose plaster the supports were mostly exposed so I could just replace the broken laths with new ones the same way they were installed originally.

The lath is original to the house (it mostly came off the big I beam) and I soaked it in a bath for a few hours to make it expand before fitting it.   That way it hopefully shouldn’t expand again when it is wet by the new plaster which might otherwise cause the wall to bow.

lath-replaced

I have of course been botching too.    There are some awkward holes which would need to be extended significantly to get back to the joists.

I’ve tried exposing a couple of inches of the ends of broken lath and then attaching new lath to the old lath by cross nailing using lots of stainless brad nails.   The result seems secure.  But I’ve only tried it in one place.

laths-connected-to-laths

I’m doing quite well with the ceiling and have been doing the first plaster coat as I go along.   It’s been years and I’m starting to remember how not to apply plaster.  First rule I forgot for lime plaster or anything lime is to put as little water in the mix as possible.   Of course I started on a ceiling and I made a mess.

Tree Stump

The lean in the garden wall seems to have been caused mostly by a Leyland Cypress tree removed in 2014.  The tree made the wall lean over by 6 inches and also pushed the foundations sideways by around 8 inches.    If we are going to have a straight wall there will be some stump removal needed because the stump is in the way.

It’s been a nightmare to try and organise the stump removal and work has stopped on the wall now.   The tree folk are really busy after having been stuck at home earlier in the year and despite promises nobody seems to want to actually turn up to remove the stump.    It is too close to frosts to start re-building the wall this year.

tree-stump

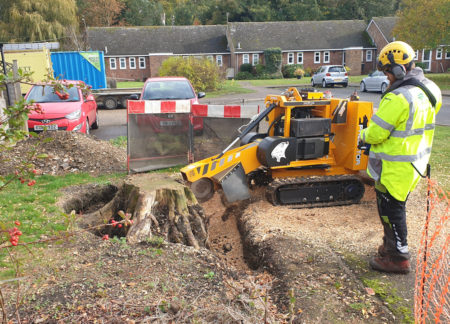
More than a month later the tree guy turned up with a stump grinding machine and (very professionally) removed the stump.

stump-grinder

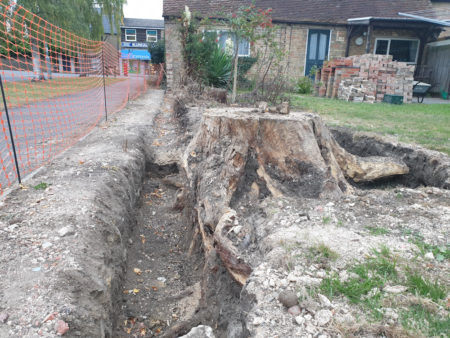
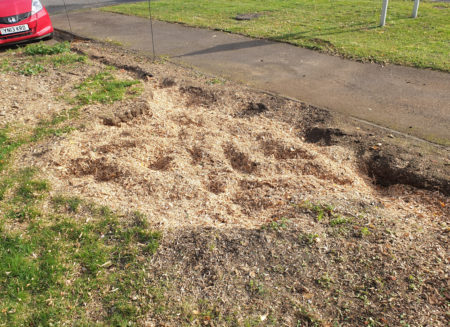
Now the awkward stump is just sawdust.   There is quite a lot of sawdust but November 5th isn’t too far away and might provide a good excuse for a bonfire.

sawdust

Starting the garden wall rebuild

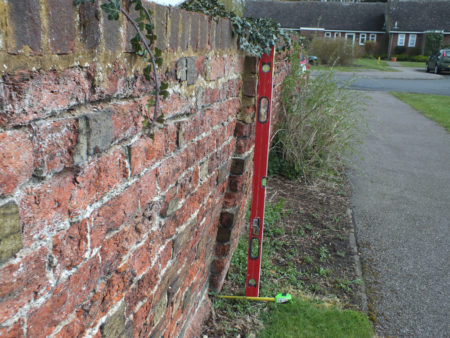
I’ve been measuring the lean of the garden wall every year.  The lean has been increasing by about 1/8 inch every year, and it’s reached 6 inches now.  There doesn’t seem to be any good reason for the wall not falling over, and given the lean is over a footpath it’s probably time to do something about it.

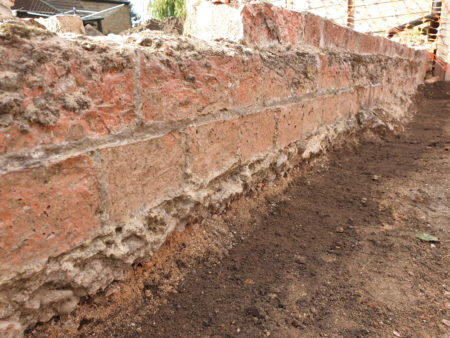
It’s an old wall built with Bedford Clamp bricks in Flemish bond.  The gable end of the barn was built on top of the wall, and the barn is from around 1850 so the wall is probably earlier.  Bricks are a funny size (around 71mm) and I’m guessing Georgian.  The wall will be rebuilt using the original bricks.   It’s been repointed in cement so the bricks are horribly spalled and will need to be turned around.
leaning-wall

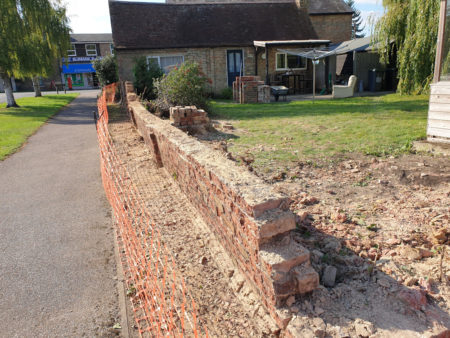
I’ve been sensible for once and installed some temporary orange fencing.  I feel it says ‘stay well back  – there are some highly trained professionals doing serious stuff here’.  Also it’s nice to have some sort of fence while the wall is missing and when the foundation hole appears.  Though the first couple of days will be vegetation clearing on the other side of the wall.

fencing

The poor wall is looking less well now.  Nominally the wall is straight but has been pushed sideways and over by a Cypress tree.   If it falls over now it will result in ankle bruises rather than squished children so I’m feeling a bit better about it now.

The bricks were very badly spalled.  We’ve been cleaning up the bricks as they were removed and where the wall hadn’t been repaired in cement the bricks can be turned around and used again.  But many of the headers are spalled at both ends and are too short to be useful.

removing-bricks

There are 1000 bricks in the stack so far. The wall had been repointed in white cement which is probably what caused the spalling.   The top couple of courses and parts of the piers had been rebuilt in cement and not many bricks were salvageable from that.  I’m going to be 1000 bricks short.

It will be a happy wall again, rebuilt in lime mortar that will last for hundreds of years.

bricks

At the rear of the house facing the 1970s bungalows a large stretch of wall was replaced with fence in the late 1980s.   It turns out that the bungalow site was levelled to below the wall foundation.   The bricks don’t reach the ground.  The foundations were 6 inches thick so did make it to the ground, but they weren’t designed to be exposed and went crumbly. 

no-foundations

Big bay window painted!

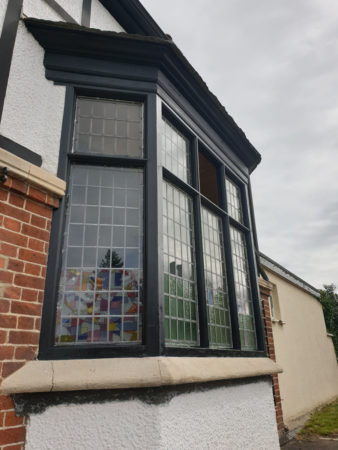
The weather has been too hot, too rainy or too unpredictable for weeks, but finally today I put the first coat of linseed paint on the bay window that I stripped in April.  It’s a big old thing.  It took all day, a third of a tin of paint, and there were more than 50m of edges to cut in.

It’s looking pleasingly Gothic now and it finally matches the rest of the front.

big-bay-painted

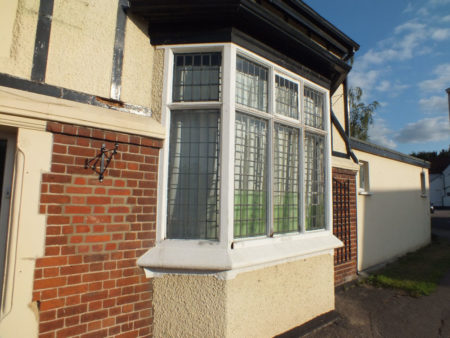
I found a photo from August 2013.   I like it better now.

big-bay-2013

Grand Staircase Ideas

Now I have a ballroom I’m thinking about a grand staircase.   Something like the one in Beauty and the Beast or Cindarella.

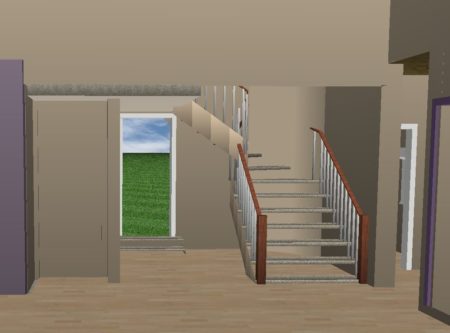
The staircase might fit in the old dining area.   It would turn one of the upstairs bedrooms into a shower room, but it would look fab!  I’m thinking something heavy in oak rather than the modern staircase in the renderings.

staircase-downstairs

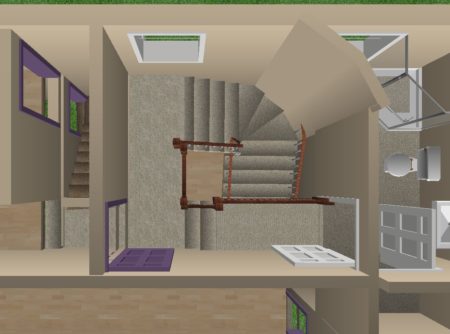
Space is tight for a grand staircase.   But it would be a great opportunity to merge that awkward pillar into an actual wall.   I tried to avoid winders on the first landing but I’ll need them if I want to keep the outside door.

staircase-upstairs

I’m very much in the thinking phase.   It would fix a lot of problems upstairs at the cost of a bedroom.   Though it would make another bedroom more useable, add another WC, and give me a window in my shower room.  Downstairs I can position the Ladies behind the stairs and then add a new en-suite guest bedroom downstairs where the toilets were.

More much later.  At the moment I’ve decided it is a bad idea.
Barbecue Rebuild

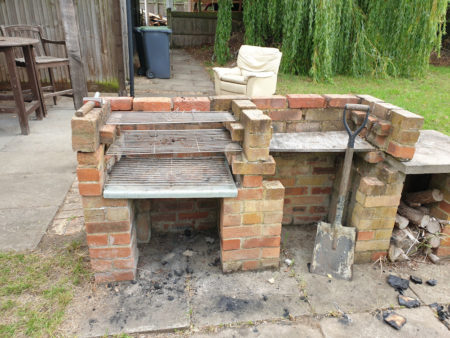
The garden came with a brick double barbecue.   The top courses have always been loose, but things got worse when I realised the bricks were a perfect match for my chimney and I stole much of the top course.

old-bbq

I took the BBQ down about 4 courses until the bricks seemed secure then built it back up loosely.  A lot of the bricks were damaged so some bricks left over from the new build next door were used to make up the numbers.

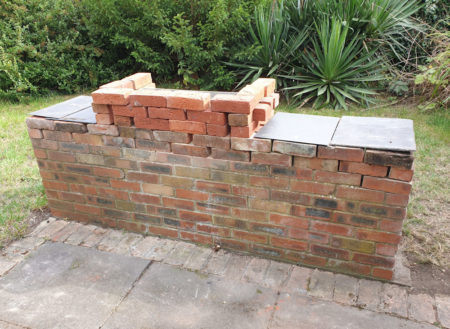
The new bricks are quite nice but didn’t match.   Over a few evenings the bricks were rearranged a few times to try out some ideas.   The BBQ was steadily redesigned and ended up a course higher than the photo with the bricks arranged in a chevron pattern.

The work tops in the picture are roof slates positioned to see whether slate would look nicer than concrete.

prototype

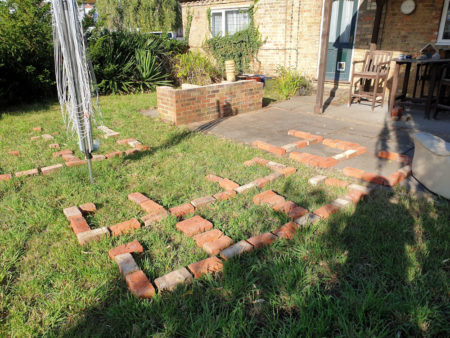
Once happy with the pattern the bricks were positioned on the lawn in their courses.   This worked really well and I didn’t once get the bricks mixed up while I was rebuilding the BBQ.  Later all of the courses were moved onto the lawn as it helped keep the underside of the bricks damp.

The sun was hot this week and the bricks were thirsty and needed a lot of spraying.   The scaffold tower was put up with hessian sheet over it to keep the sun off me and the new cement.   Otherwise it would have been far too hot.

laicey-abbey

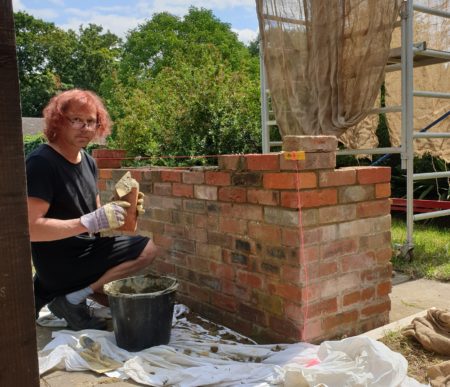
The BBQ was originally built in cement so I used cement to match.   It’s the first time I’ve used cement for brickwork and I’m not used to it.  I don’t like the stuff.   I’m not the first to rebuild the BBQ and it’s in metric bricks so post 1965.   Things shouldn’t need to be rebuilt this often, and getting the cement off the bricks was a real pain.

There was a fair mix of different bricks from previous rebuilds and it’s awkward to lay bricks when one of the bricks underneath has a deep frog, then the one beside it has no frog or is full of old cement.

20200721_140247

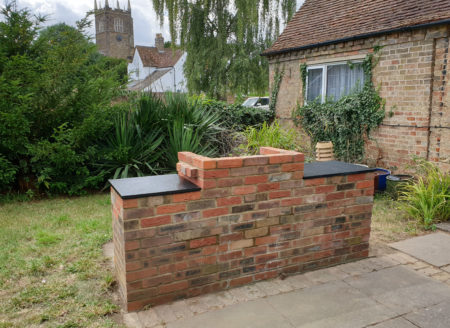
I’m really pleased with how it turned out.   Mixing the new bricks in over the top 6 courses makes them stand out much less, and they add a bit of colour.   I went for a chevron pattern rather than a random mix simply because I have never done a brick pattern before, but the pattern isn’t all that noticeable.
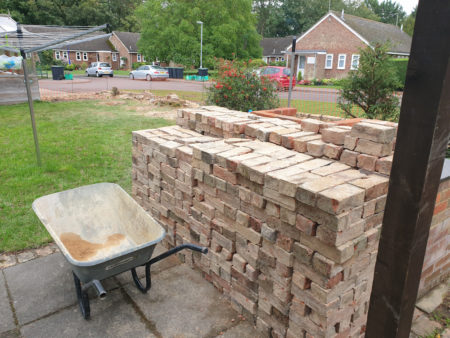
The worktops are slate paving and were only £17 from the Rockery Centre in Sandy.   The slate looked great in the shop but when I put them on the BBQ they were light blue.   After a thin coat of linseed oil it went nice and black.

bbq-finished

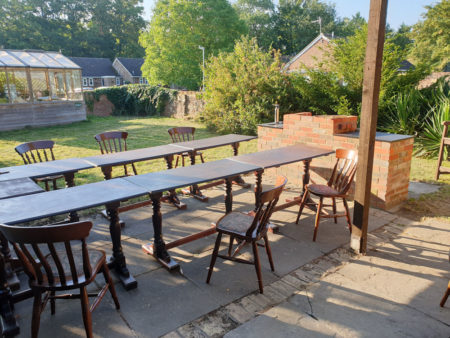
I had expected the work to take a couple of days but somehow this contrived to take up most of the week.   It’s good to have a little job that can be completely finished and look good.    Also useful to straighten it out as I’ve been hosting a lot of BBQs this summer.

bbq-tables

Plastering the big steel I beam

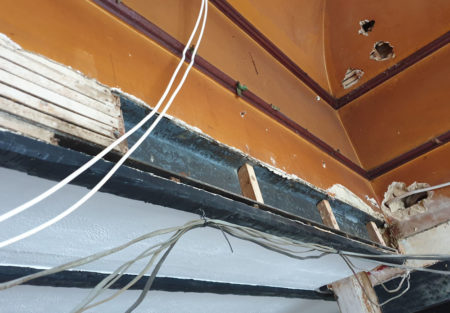
There is a big steel I beam in the ballroom that supports a corner of the house.   The false ceiling had been cross nailed to the wooden supports for the lath and plaster.   Removing the ceiling caused a bit of damage.

Lath was a silly idea in the first place – the span is too big.   I’ve cut the 3 original supports in the photo down to allow depth to screw some woodwool board on to support new plaster.

I-beam

There are a lot of holes in the ceiling made by plumbers. Quite often they made a few holes before they managed to get one in the right place.   The lath is still well fixed and it would be a shame to strip the plaster back to the supports to replace the missing bits of lathe.   I’m thinking of screwing woodwool board to the back of the existing laths to support repair plaster.

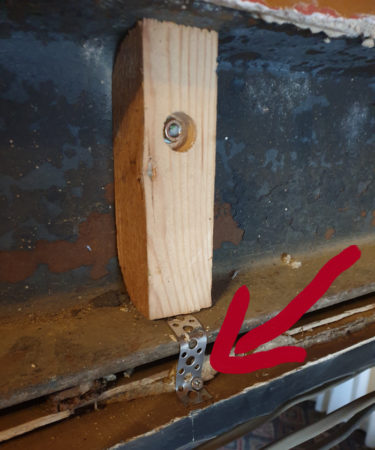
More soon….  or at least some time later.   I came to a problem with how the mock tudor beam at the bottom of the photo was attached.   It relied on some bits I’ve already removed from the walls.

I found it tricky and came back a few months later.   I’ve used builder’s strap to secure the decorative beam to the wooden parts bolted to the beam.  It works well.

builders-strap

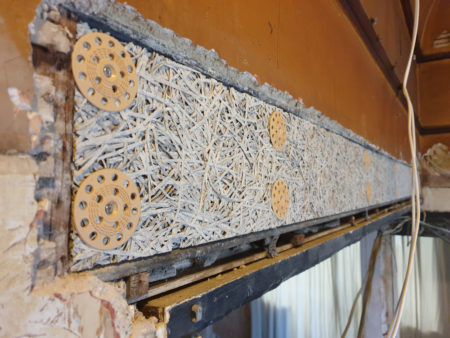
Finally some woodwool board screwed onto those pieces of wood has the beam almost ready for plaster.   It just needs a bit of lath to fill in the gap below the beam..

woodwool-in-beam

Making things more posh

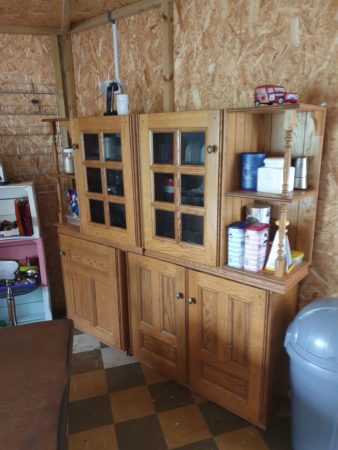
Some re-organisation this week.  The spare overhead cupboards are now in the temporary kitchen and I’ve decided I like them.   I had planned not to have any overhead cupboards in the real kitchen but the end wall above the kitchen table is still up for grabs and it might be fun to do something there.   I’m having thoughts about putting the kitchen back together after 4 years.

wall-cabinets

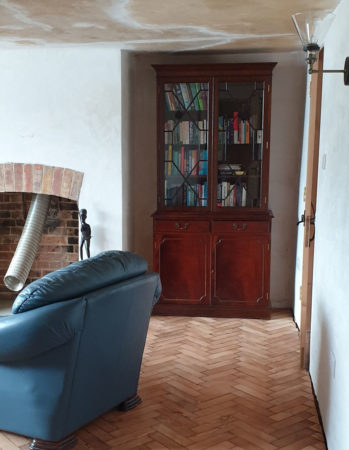
The snug now has a posh bookcase so I can pretend I’m intellectual.   I want to see how posh and fancy I can get it before I actually decorate.   Maybe if I get a woodburner  it’ll look better than the dangly flue in the fireplace.

bookcase

The cat has settled in very quickly.   🙂

cat

Upstairs wallpaper stripping

Upstairs someone had papered over woodchip wallpaper with textured wallpaper.   That worked out just as well as you might expect.   I’m getting ready for new electrics so it is useful to figure out what the walls are made of.

wallpaper-over-woodchip

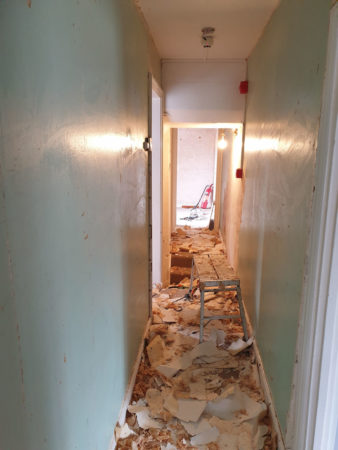
The wallpaper came off very easily, but the shiny green stuff is waterproof paint over lining paper and is proving more challenging to remove.

after

Some of the green stuff fell off anyway and it’s what’s underneath that is interesting.   I think the wall was skimmed with gypsum in 1921.   It’s a bit of a shame as I had been hoping to find evidence of an earlier layout.   But I maybe found the original 1920s wallpaper!   It’s very dark.  It must have been gloomy up there.

old-wallpaper

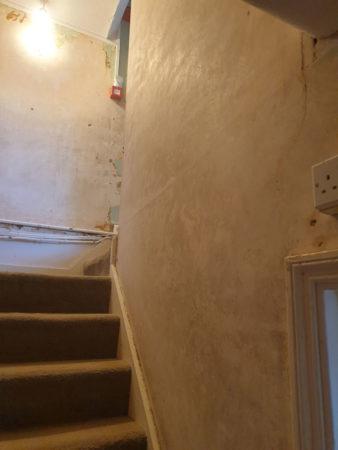
I bought a Zinsser scoring tool and some DIF concentrate.   They actually work!    The green stuff is gone from the stairs and the plaster underneath is well preserved having been protected by a thick cushion of wallpaper.

Modern practice would be to paint onto the plaster but I can’t do that – it’s 100 years old and perfectly preserved and it would not be possible to remove nasty modern paint from plaster.   I’ll put lining paper on.  Then use a nice paint.

I had just cleaned the whole house and stripping the stairs made a huge mess again.

bare-plaster

And I found more damp.   The salts at the bottom of the plaster are particularly impressive being more than 1m above ground level.    I should imagine the wall has no damp course, and the walls had been waterproofed on both sides in the usual misguided way.   I’ll let the wall breathe so it can dry out.

salts-stairs

Mock Tudor almost gone!

There is still a bit to do but it’s fun to look at the picture arithmetic.

Started with this:

mock-tudor

Subtracted this:

20200527_112057

Ended up with this.    Much nicer already 🙂

wallpaper-stripped

I’m planning to retain the mock tudor on the ceiling in the background but might try to soften it by removing the black paint and going back to the earlier wood finish.

Wallpaper Stripping

I’ve been making a mess stripping wallpaper.   The wallpaper had been painted with a gloss or vinyl paint which defeated the steamer.  I ended up using a 5 inch bladed scraper to take the top layer of the wallpaper off, then the steamer and a paint scraper to remove the remains.   The whole room should be stripped in 3 days.

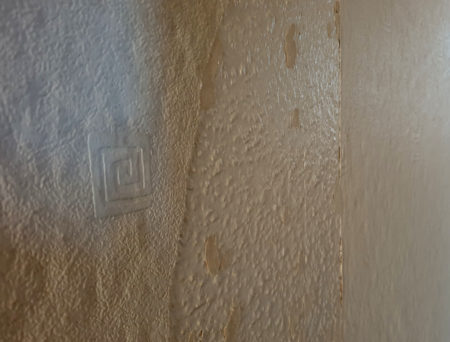
The steamer can also remove the textured paint underneath, but that is slow work and a scabbler and another skim coat will be quicker (there is no asbestos – it’s a thin emulsion textured coating).

walpaper-stripping

Guess what – I found some damp!   The impermeable paint had trapped water coming through from underfloor in the adjacent rooms which have a higher ground level.   It seems to be drying out now the wallpaper has been removed so a nice breathable clay paint should allow the wall to find a new equilibrium and avoid damp without any real effort on my part.

rising-damp