Monthly Archives: June 2018

New Snug Bay Window Roof

The problem with the Snug roof was it used to fall towards the house.   Water would puddle until it was deep enough to overflow to the front.   I think the roof was built with no fall, then started falling towards the house as the timber framed facade settled with the weight of all the brick infill  This photo was taken April 2015.
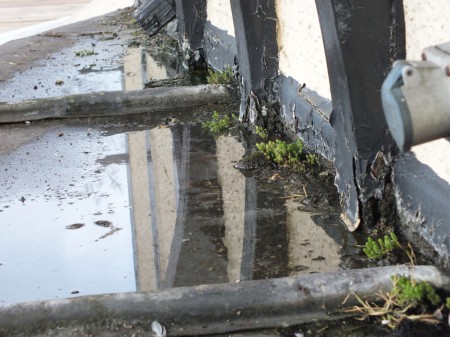
puddle-on-bay

Setting up to make the roof fall away from the house turned out to be unreasonably complicated.  If I made the rear of the roof straight it would end up 40mm too high at each end so I set up from the front of the curved bay.   Wedges cut to fit on top of the existing joists are set to about a 1 in 50 fall which means the roof has ended up higher in the middle than at the ends. Fortunately It looks OK from across the road.

The way to do this is to clamp a new bit of wood to the side of the existing joist, set the new wood to the correct height and angle, then draw a pencil line from the existing joist for cutting.   I’ve gone for a small ventilation gap under the front of the roof and added 100mm of insulation with an air space above before the roof went on.
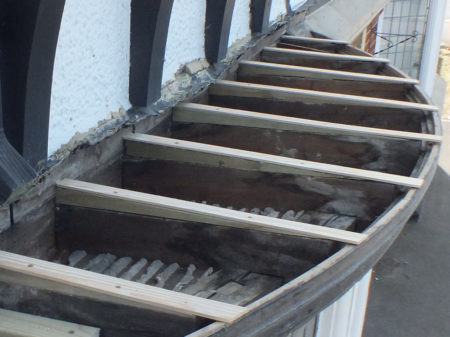
snug-roof-wedges

The roof is made from redwood tongue in grove planks (which were cupped making them a real hassle to work with).   John suggested using a circular saw to cut the curve and it worked a treat.

I’ve gone for an inch more overhang than before to make sure the roof drips past the stone sill below.
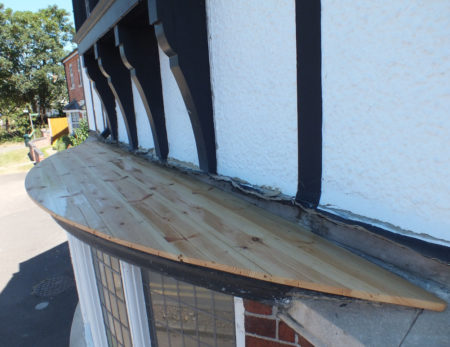
roof-planked

Hopefully it won’t rain too much before I get the leadworkers in.
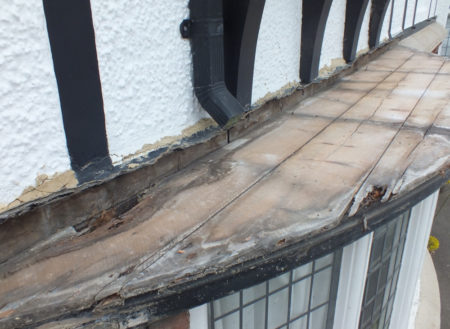
Snug Bay Lintel Repair

I had been putting off the snug bay window.   The roof falls towards the house and has leaked for a long time.   A temporary roof covering went on over a year ago after we knocked off some failed plaster and found wet structural wood behind.

snug-bay-roof

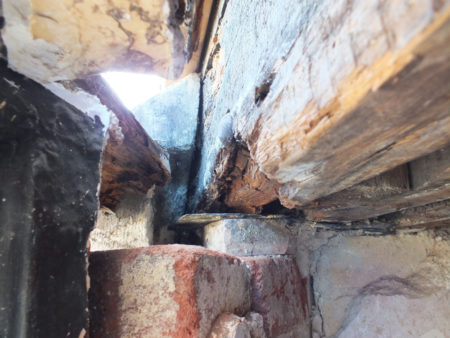
The reason I had put off the job was concern about rot in the lintel visible from below.   Thankfully it was nowhere near as bad as I feared.   The bearing surface had rotten causing the lintel to fall by about 10mm,  but the rot was localised and the rest of the beam was still in surprisingly good condition.

beam-end-rot

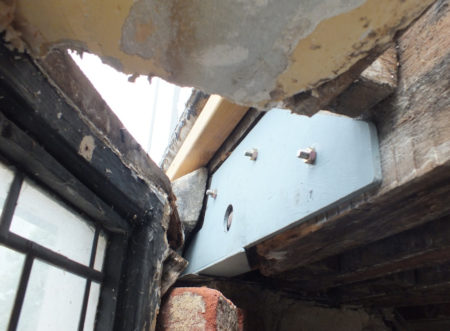
All the beam needed was a new end.   A steel plate will now act as a bearer for the lintel.   Next job is to fix the hole that has appeared in the bay roof.    I’m planning a new bay roof that falls away from the house.

steel-plate

Snug Fireplace

The bedroom is finished apart from paint and I’ve started on the snug.   I’m planning to fit a wood burner and have removed the late 20th century fireplace to get back to the builders opening.

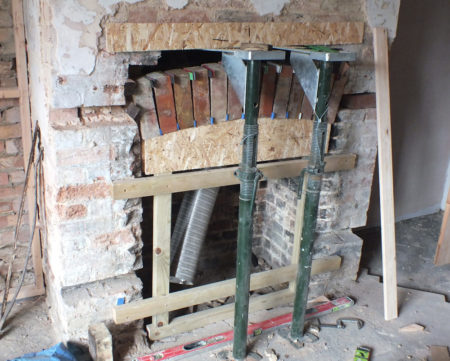
The brickwork is not presentable and will need to be plastered.  My idea is to leave a brick arch exposed to add some interest.   In the photo the arch former is in position for a trial fit of the arch.  The OSB board above the baby acros is there to provide a surface to line up the face of the arch which will be 10mm proud of the brickwork.

arch-template

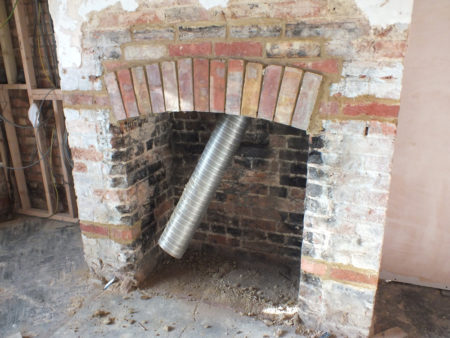
The arch uses the same bricks as in the main room.  The colour differences between the bricks should be reduced when they are sealed. Failing that I will have a multi-coloured arch.

It’s a bit mean to future historians to build the arch in 100 year old bricks so I’ve made good use of red bricks left over from the new build next door to fill gaps where fireplace mounting wood was removed, and also a couple of loose bricks above the arch that I have saved to match replacement bricks for the exterior wall.

arch-complete

I think the sides of the fireplace opening will need to be plastered as the corners of the bricks have been knocked off.  Possibly I will be able to only plaster the corners and make a nice curve.   I’ll likely leave the back of the opening in sooty brick.

Plaster Conservation (with Lining Paper)

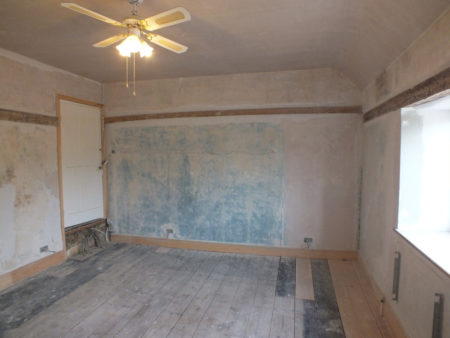
The Bedroom is one of the older rooms in the house.   The blue colour is distemper on top of haired lime plaster on wattle and daub. The pink (a gypsum skim over lime) was applied by the people* who filled in the door opening to the right, raised the ceiling, then chopped a new door opening through the wall plate!

*I’ve been calling them Edwardians but it seems that Gypsum became popular only after WW1 when skilled plasterers were killed and a new generation took over.   The remodel was complete before 1926 and started after William Thomas became landlord in 1910.  I’m going to change my estimate to 1920.

I’ve exposed the beams (I think the wall plates were originally exposed or hidden by the ceiling.  The tie beam was originally above the ceiling).

bedroom-plaster

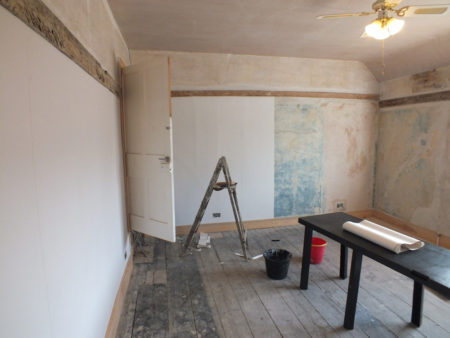
The original plaster was protected by wallpaper and is still in reasonable condition after several hundred years.  Originally lining paper was applied before paint, and it is is lovely to be able to take off layers and layers of paint and get back to nice smooth plaster using only a wallpaper stripper.

So I’m being nice to future restorers and covering the original plaster back up with lining paper before paint (using a cold water paste so the paper can come off again in the future).   It is my first time wallpapering and lining paper seems forgiving.   On the far wall the outline of the timber frame is quite visible through the paper.

lining-paper

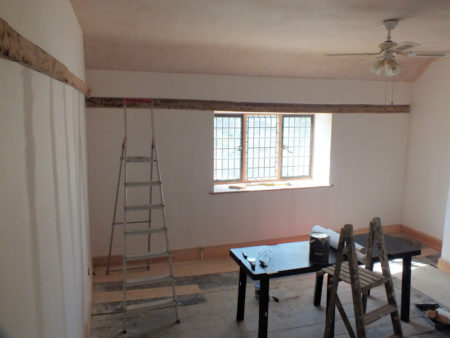
It looks a lot better with the lining paper finished.   I went for maybe 0.5mm or 1mm gap between the sheets, then painted the joints, then used filler to hide the gap.    The paint allows the filler to be sanded a little and the joints in the paper aren’t noticeable after paint.

lining-finished

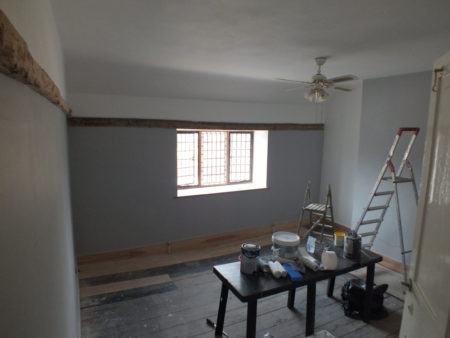
A bit of paint later and the room is closer to being finished.   Ceiling needs another coat and I might yet continue the wall paint past the beams towards the ceiling.

bedroom-paint

I did end up painting up to the ceiling above the beams.   Looks more balanced, but there is something very nice about bare wood against white walls.